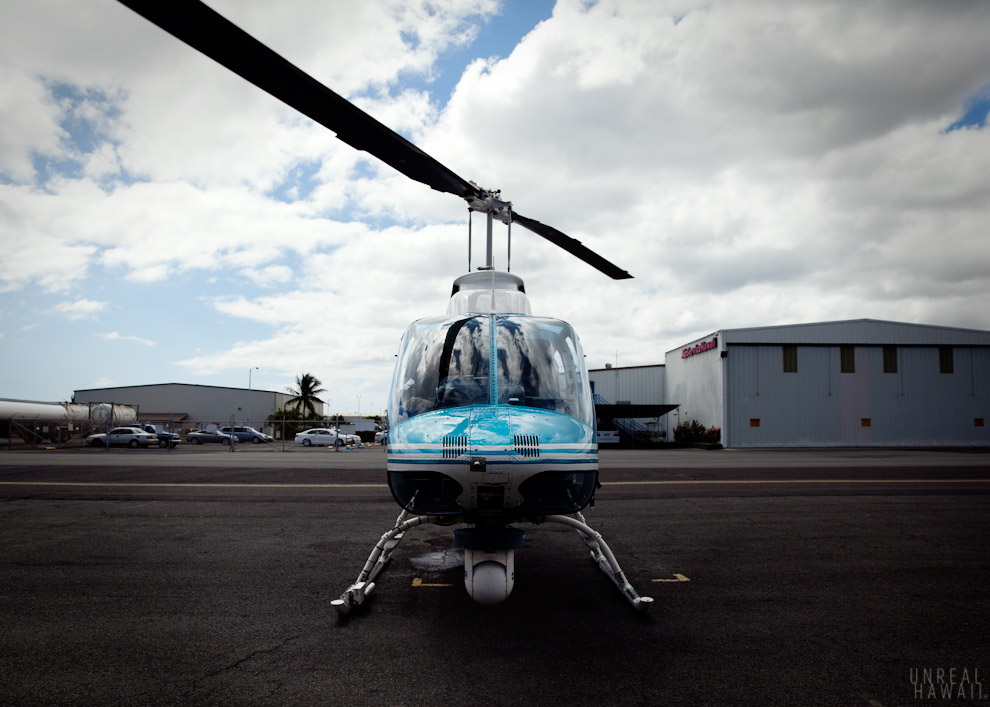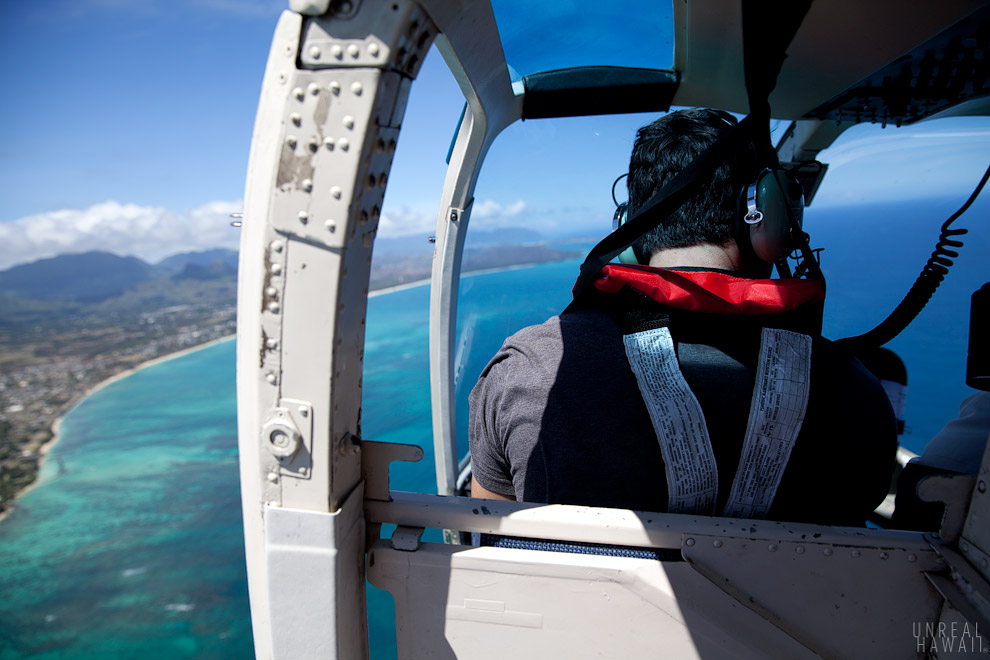
There are no doors on this helicopter.
Without doors your views of the island are unobstructed.
Photos come out crystal clear as you’re not shooting through a window.
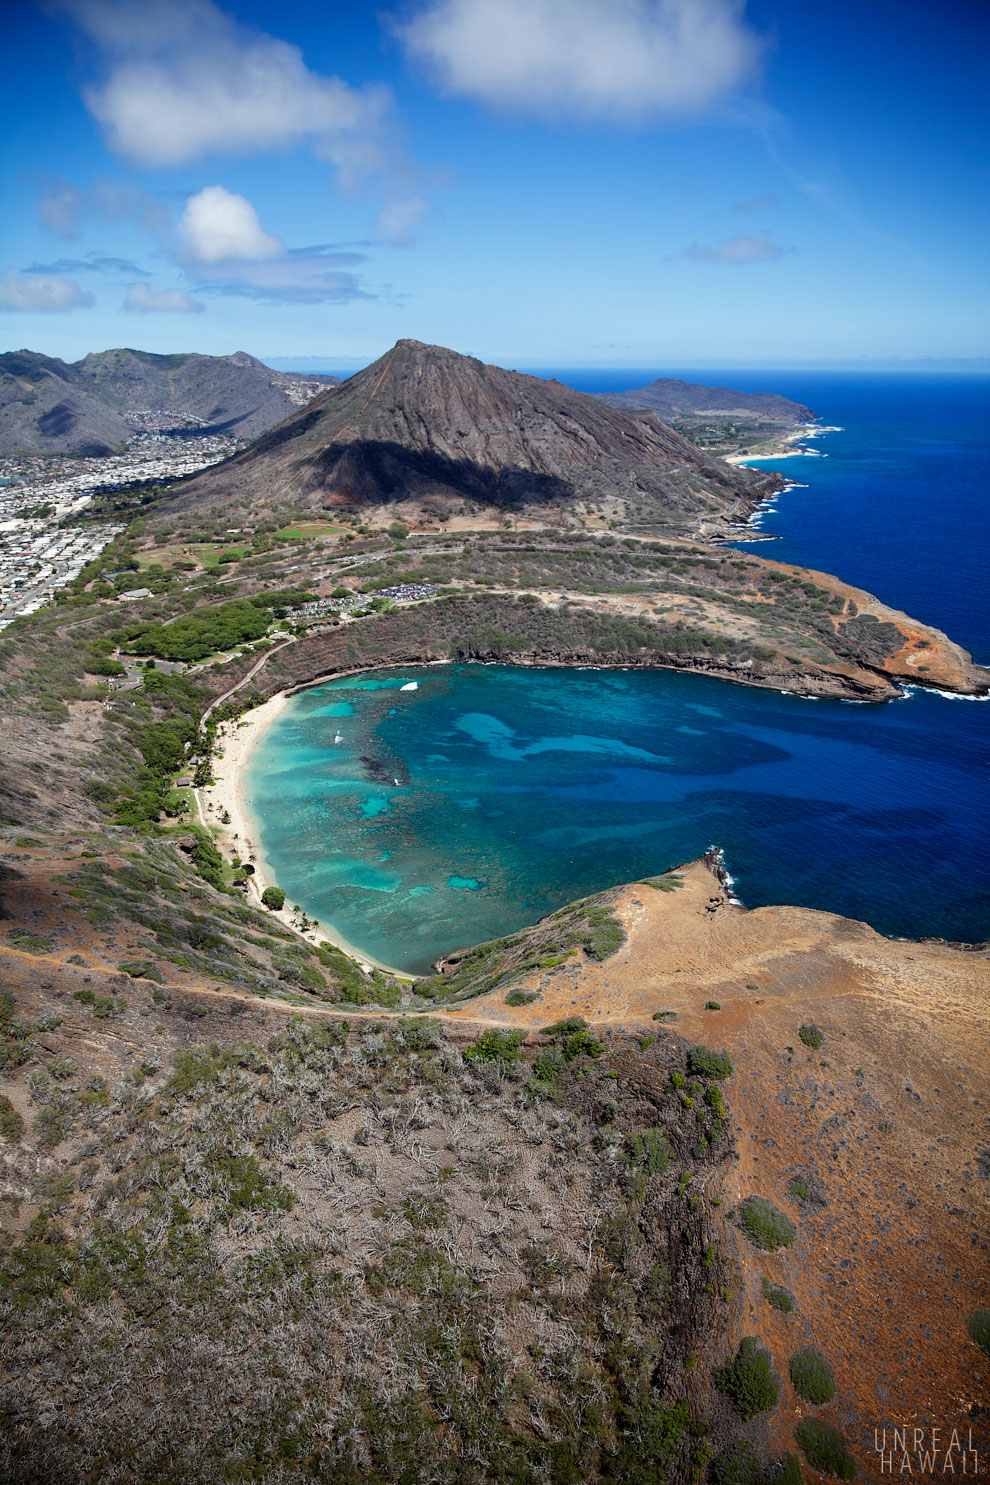
A doors off helicopter tour over Oahu, Hawaii.
What a way to see the island.
I recently took a helicopter tour of Oahu. I didn’t know doors off helicopter tours existed until a couple months ago. That’s when I was chatting with a friend of mine who works as a concierge in Waikiki. He said it’s one of their most popular tours. He offered to set me up with a tour and a couple weeks ago we got to go.
This was my second time on a helicopter tour of Oahu. The first time was a few years back and before I had taken up photography as a hobby and started this blog. It was super fun but this time was way different. This time I had a DSLR and a very nice lens I rented from Hawaii Photo Rental. (I was shooting with a Canon 5D Mark II and Canon EF 24-70mm f/2.8L II lens.) From the moment we took off I was snapping pics nonstop.
This tour is a photographer’s dream. But even if you’re not snapping photos, I have to imagine it’s still exhilarating.
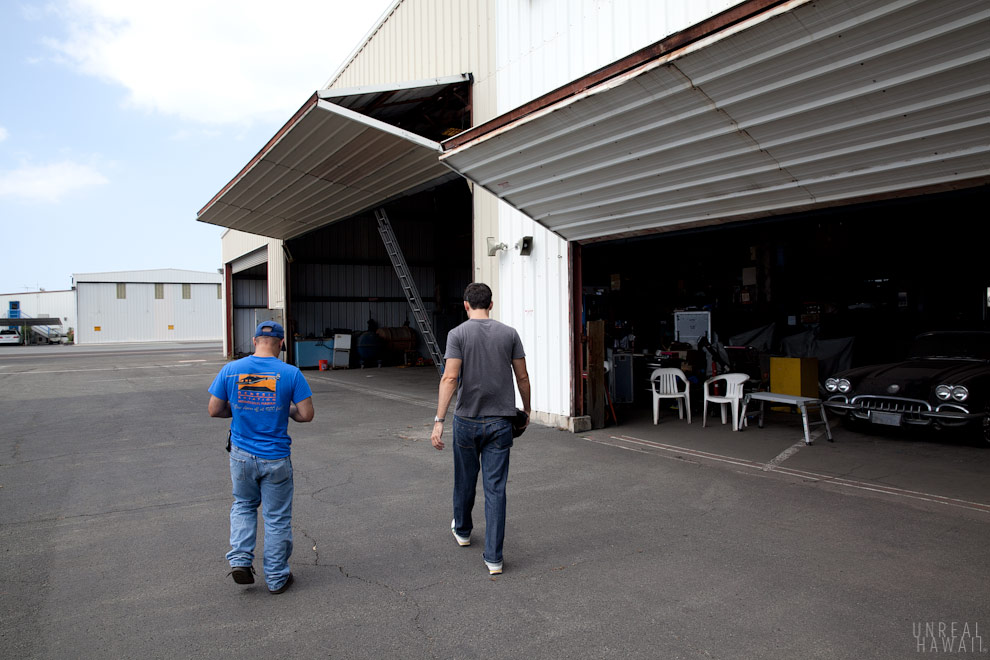
The tour starts at the Genesis Aviation hangar near Honolulu International Airport.
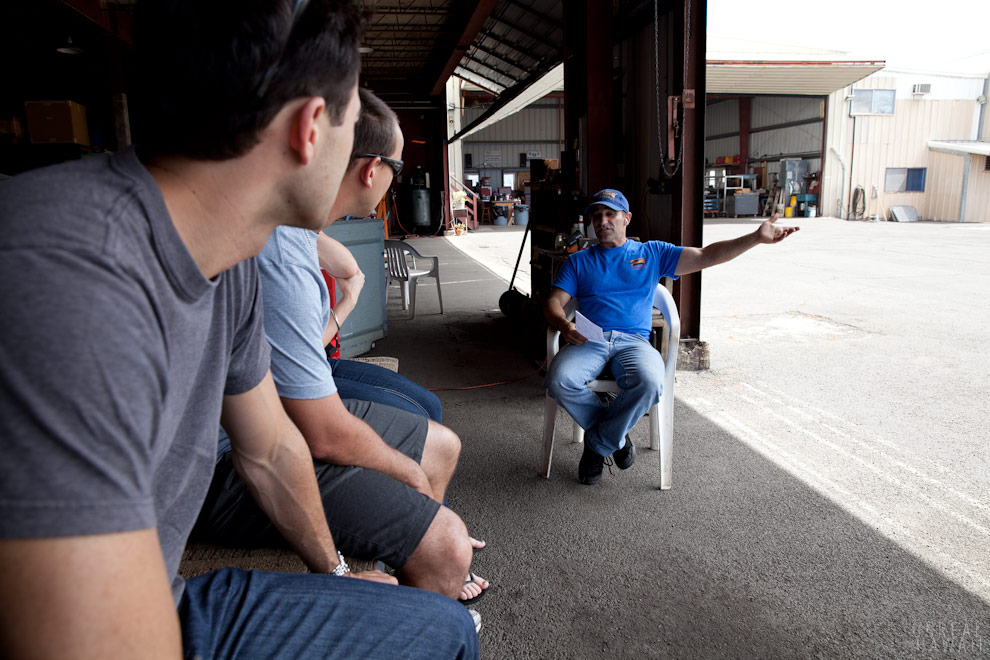
It was just my friend John, myself and a couple from Australia on their honeymoon. You get the lowdown on the tour and safety precautions while waiting for the helicopter to arrive.
One important precaution is to not walk into the rear helicopter blades while they are spinning. No joke, that’s an issue they have to deal with. When the rotors are running, the blades are moving so fast they are pretty much invisible. And they are right at about head level. So, if you were to walk toward the rear of the helicopter as the rotors are spinning, well … you do the math. (Here’s a hint: you will chop your face off.)
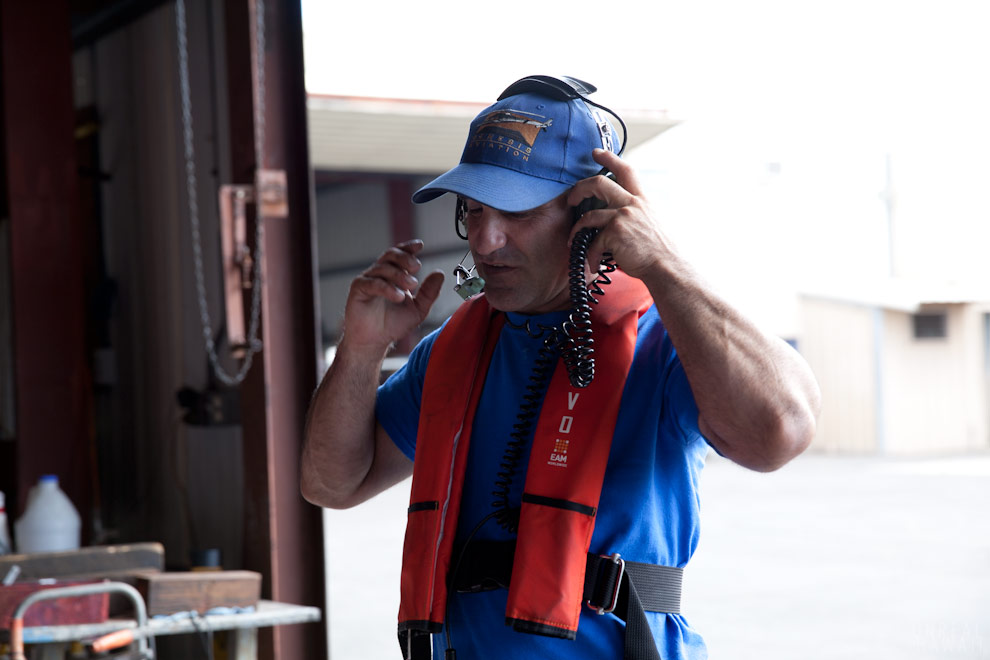
We each get a life preserver (that red thing is inflatable) and a head set.
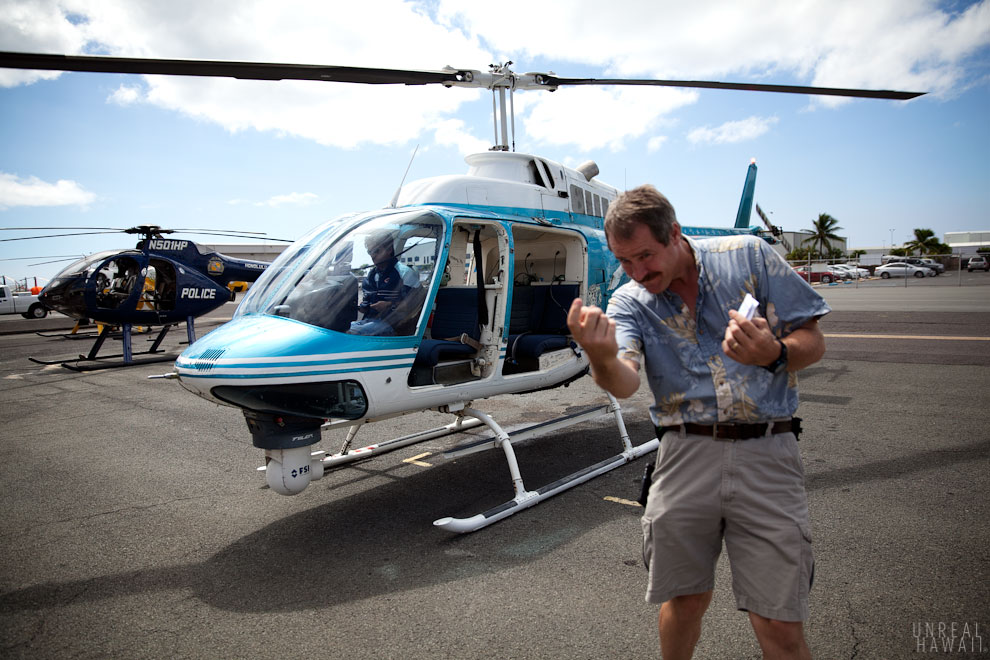
When the helicopter arrives Jim welcomes you. As you can see there are no doors.
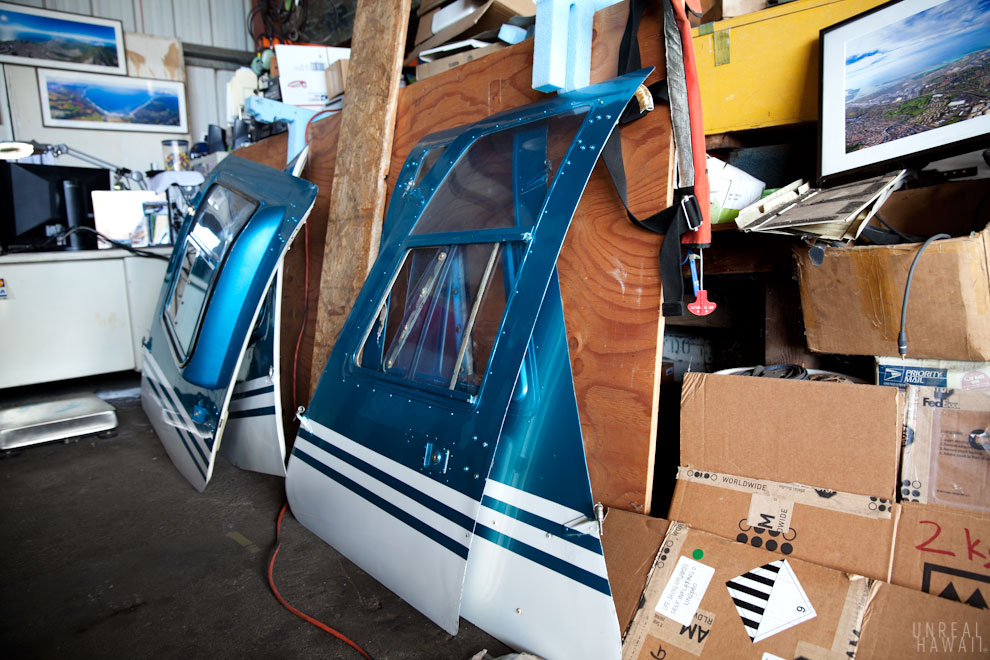
They left those back in the hanger.
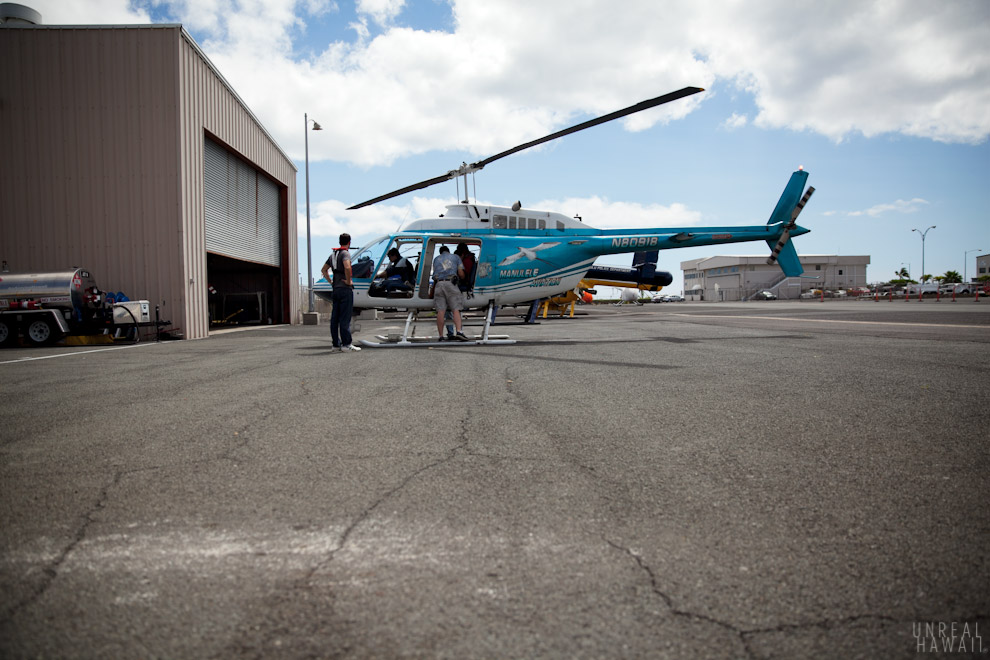
So we climb in and they clip a seat belt on us. (Those propellers are spinning by the way. They just look still in the photo.)
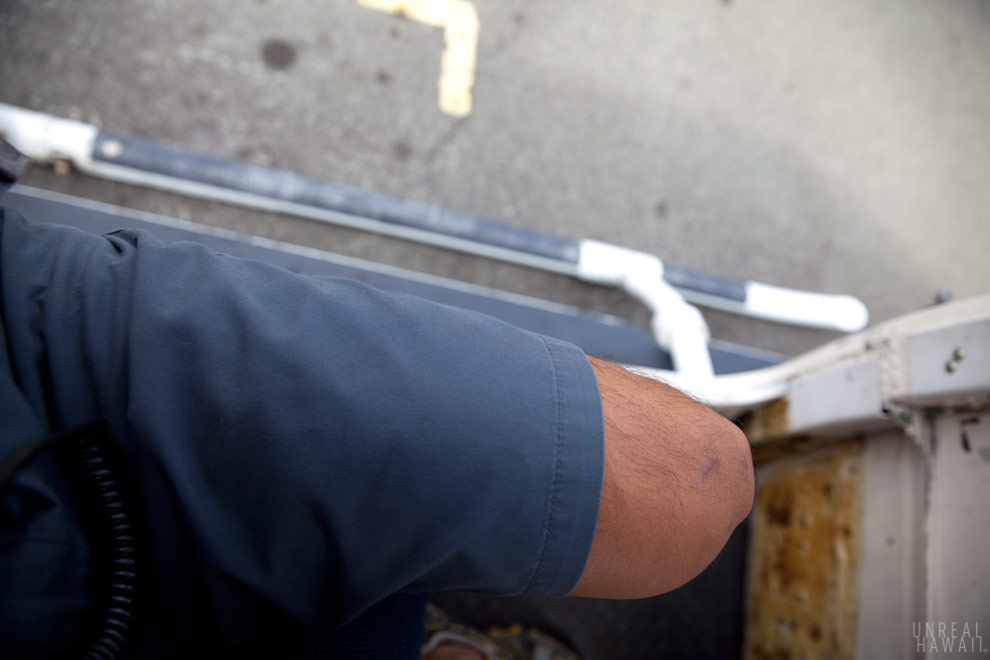
My left leg is basically hanging half way out the door.

Then our pilot and tour guide prepares for lift off.
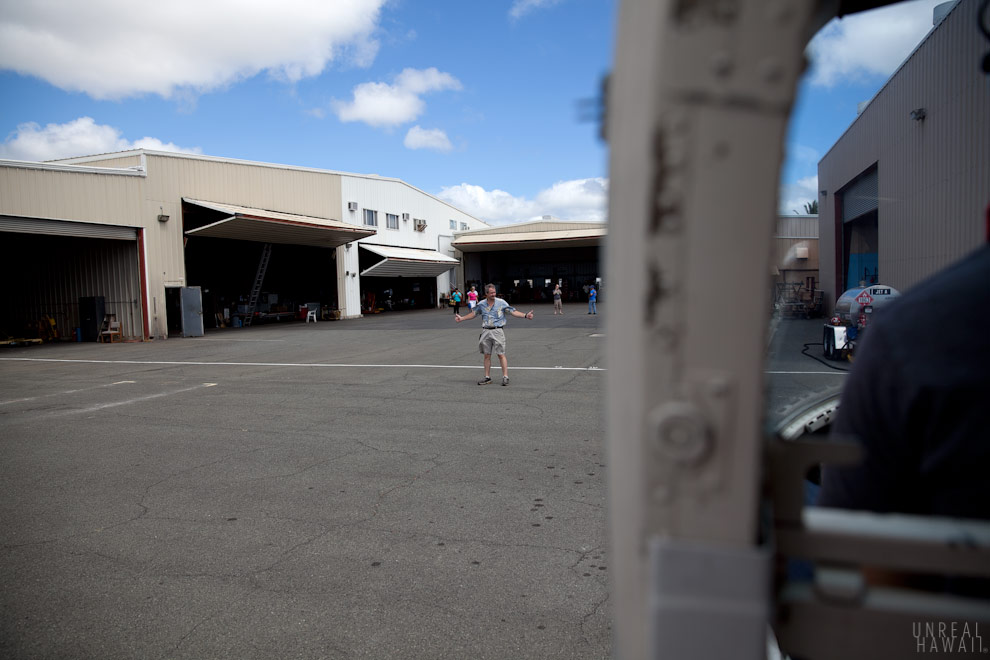
Jim gives the thumbs up which I think signifies that there are no other helicopters flying around us.
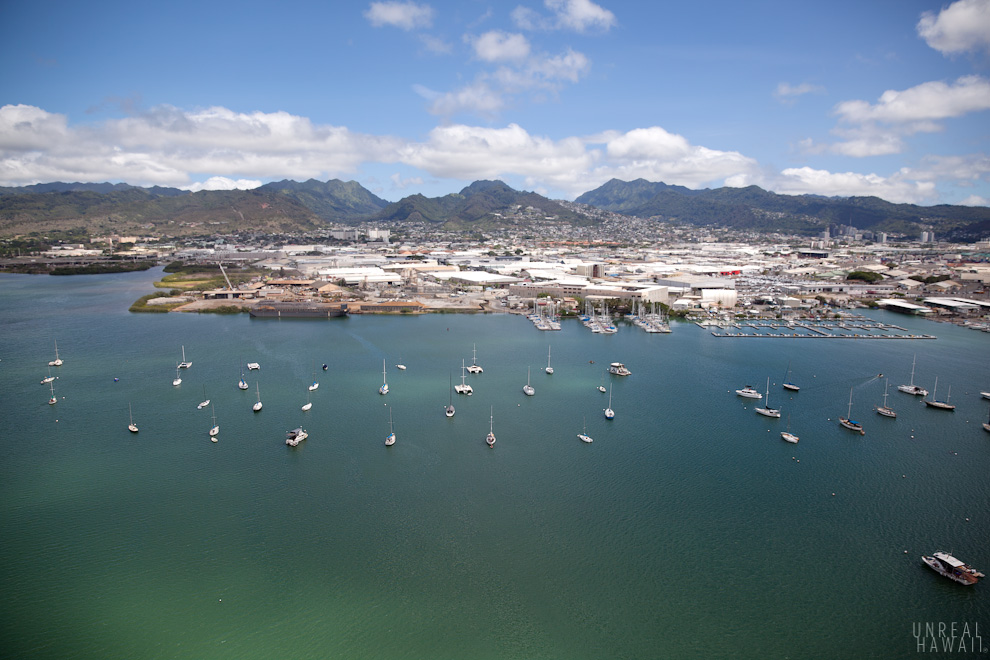
And then we get to see some views of Oahu that are gorgeous.
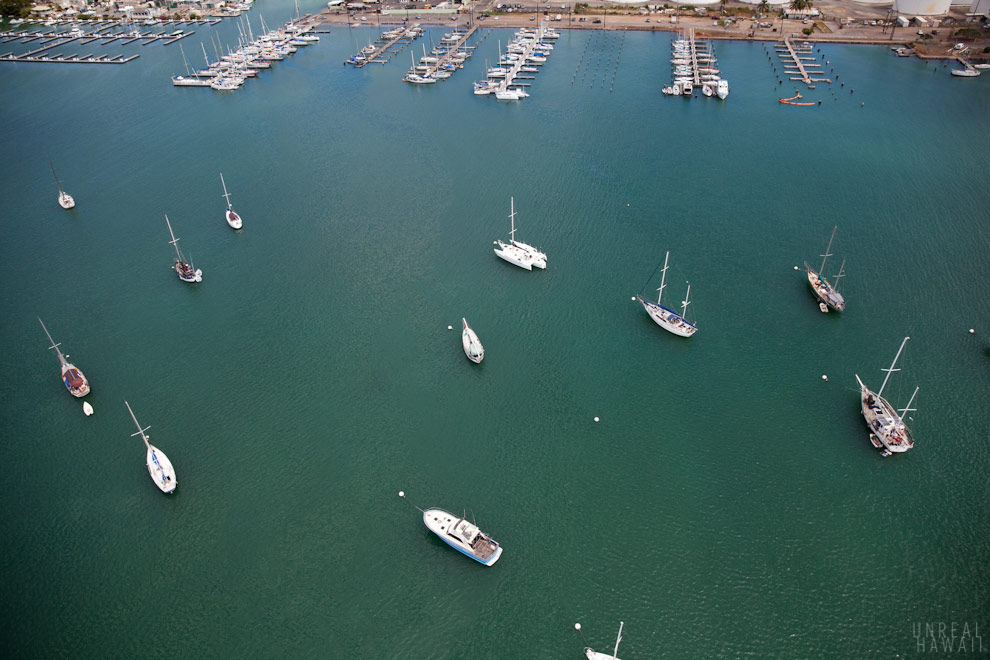
This is the Keehi Small Boat Harbor.
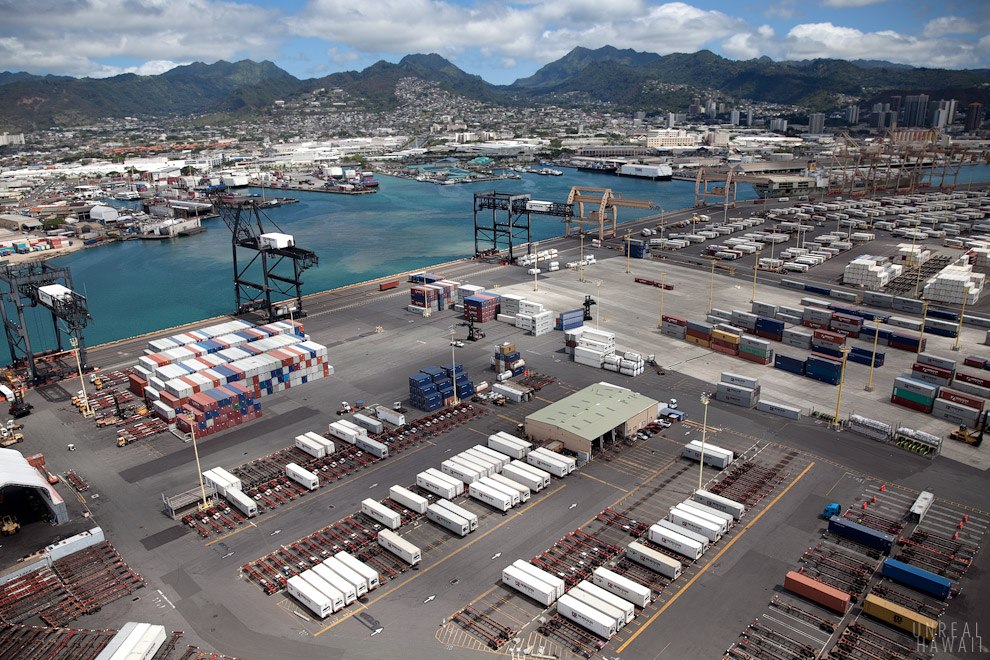
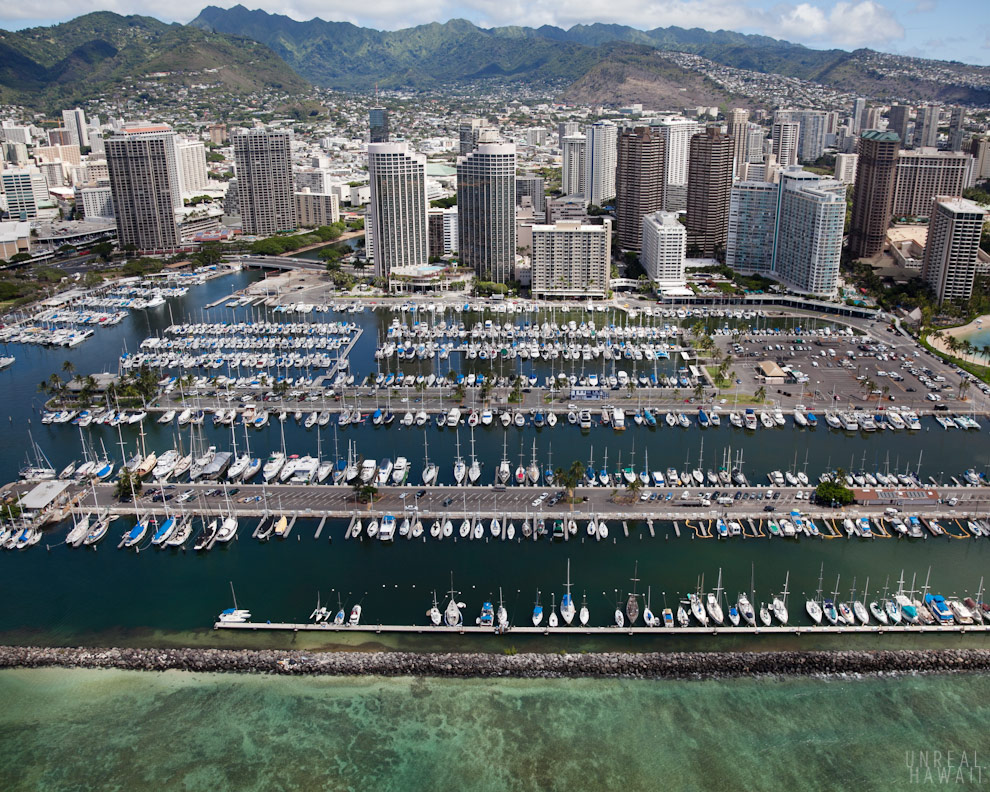
Some of my favorite shots were of Honolulu Harbor.
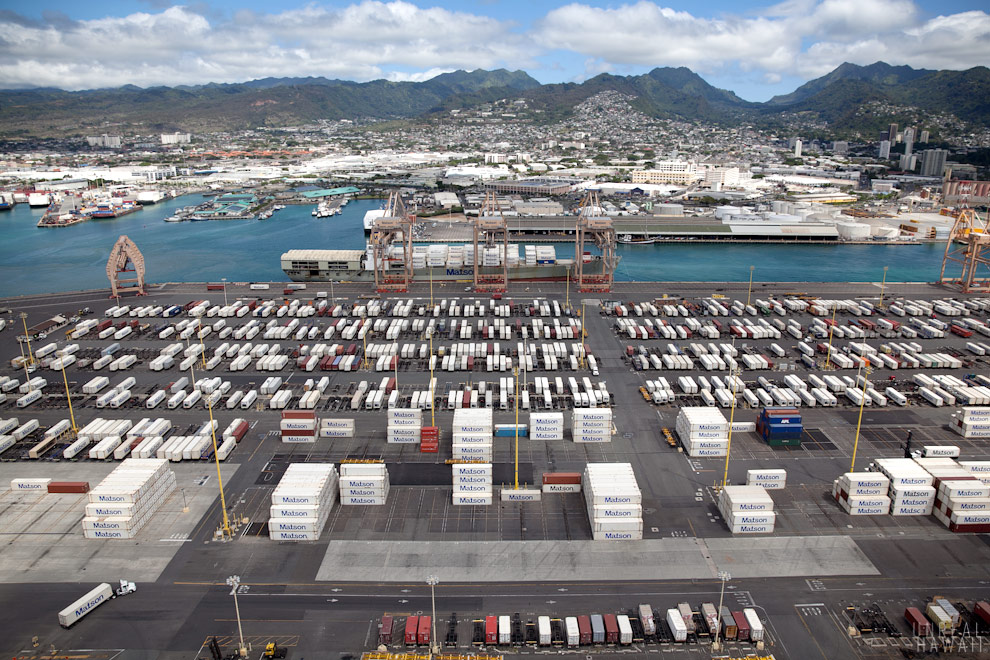
Industrial photography is beautiful to me.
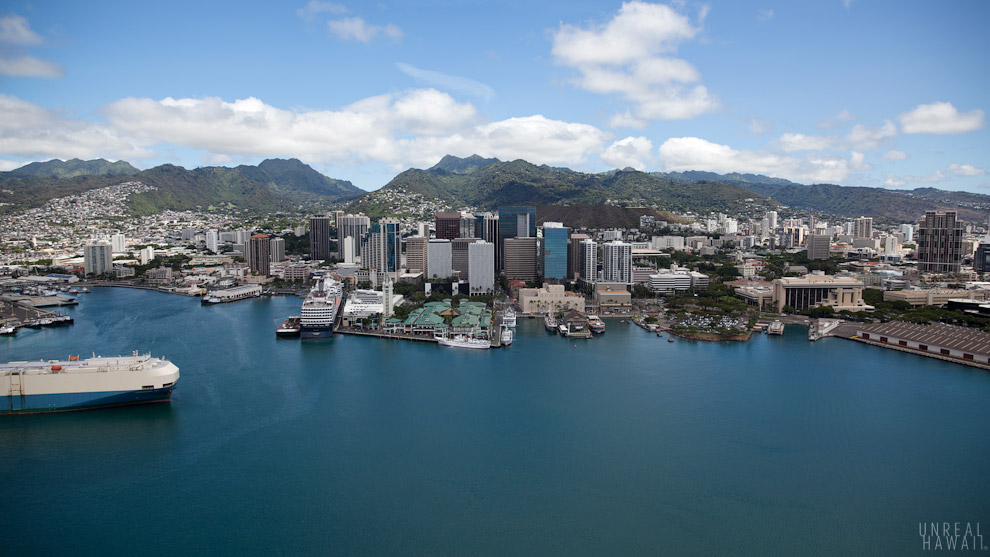
Downtown Honolulu.
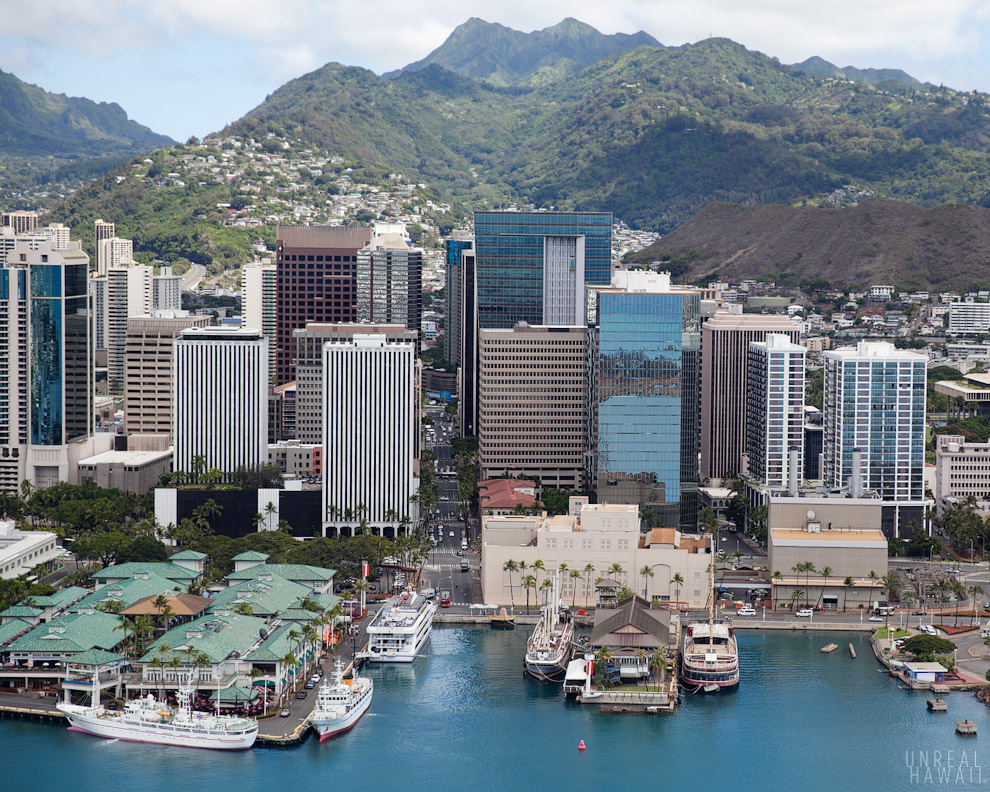
We got a clear view right up Bishop Street. I spent three years working out of an office on this street at an advertising agency.
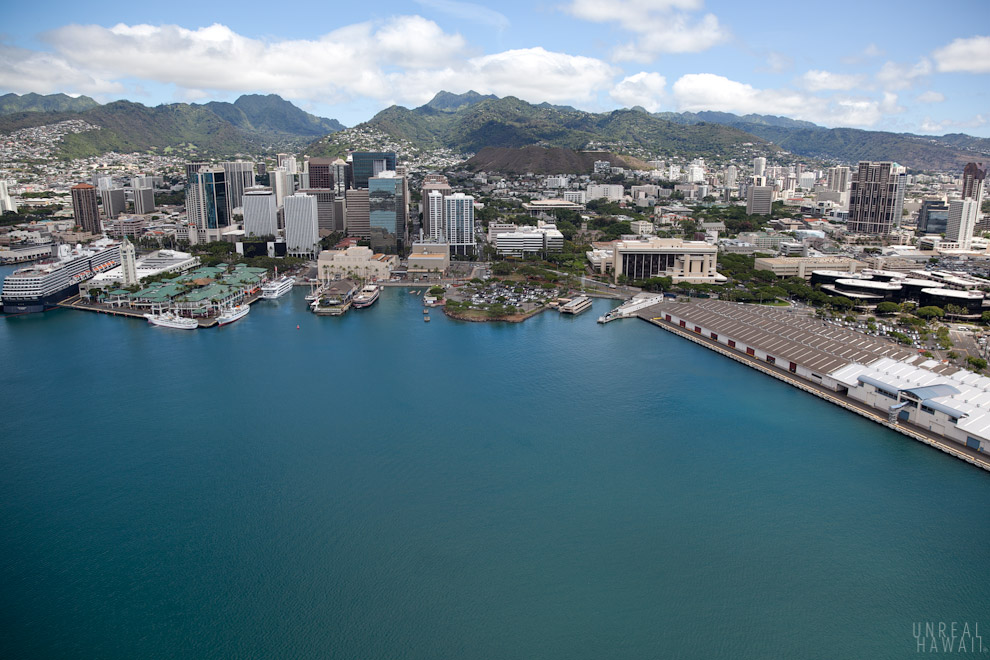
That’s Aloha Tower Marketplace over there on the left.
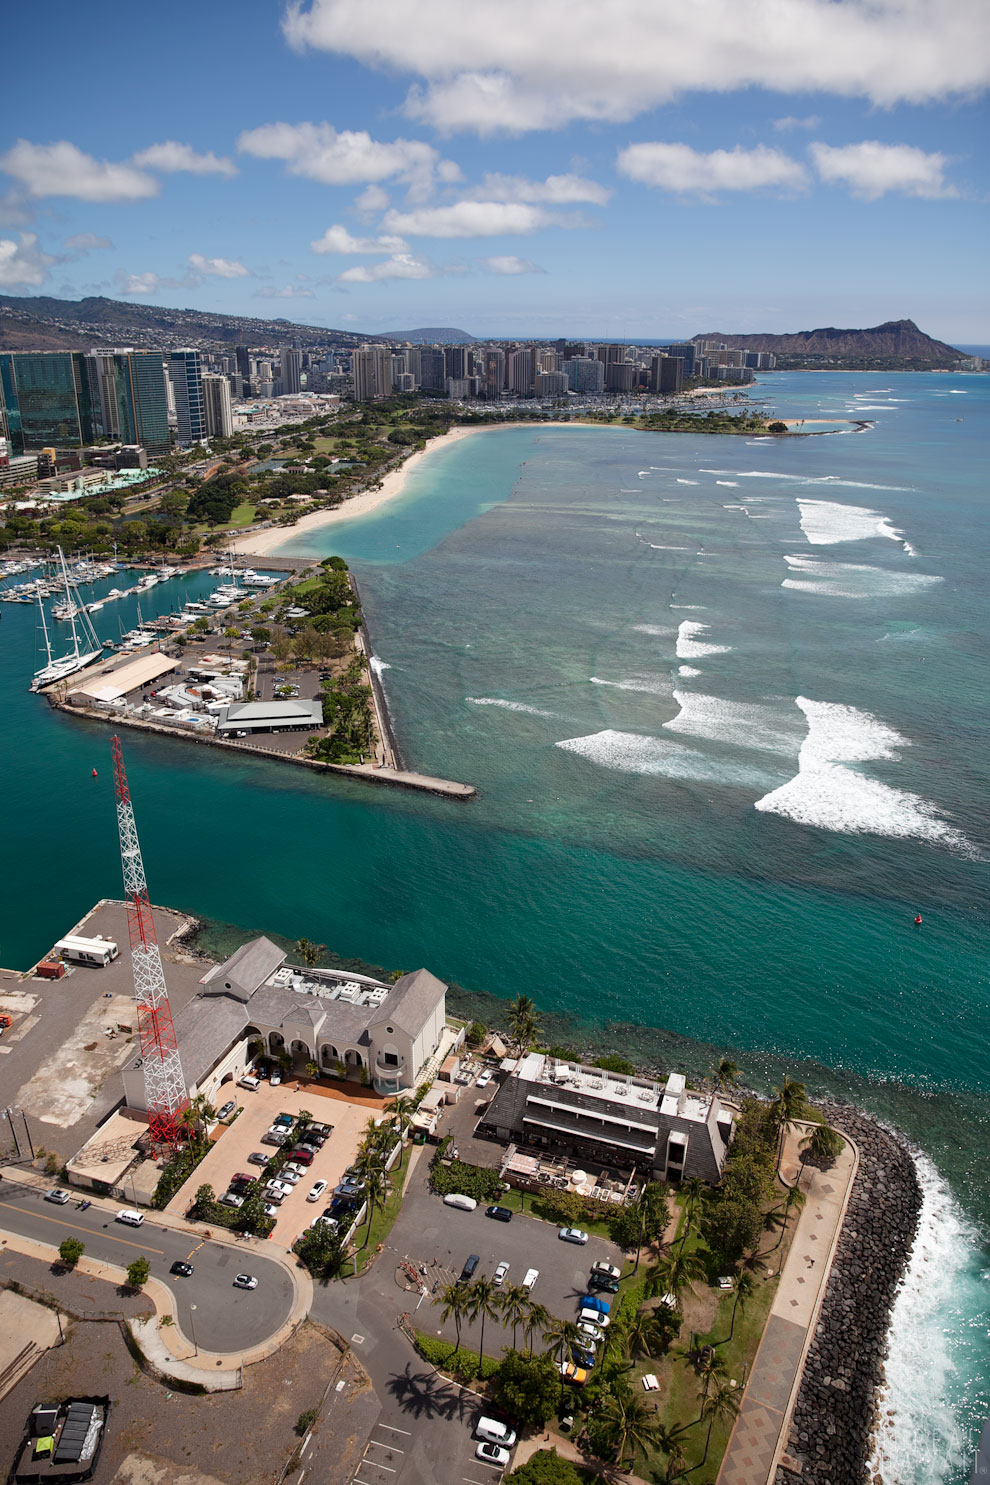
Kewalo Basin and Ala Moana Beach Park.
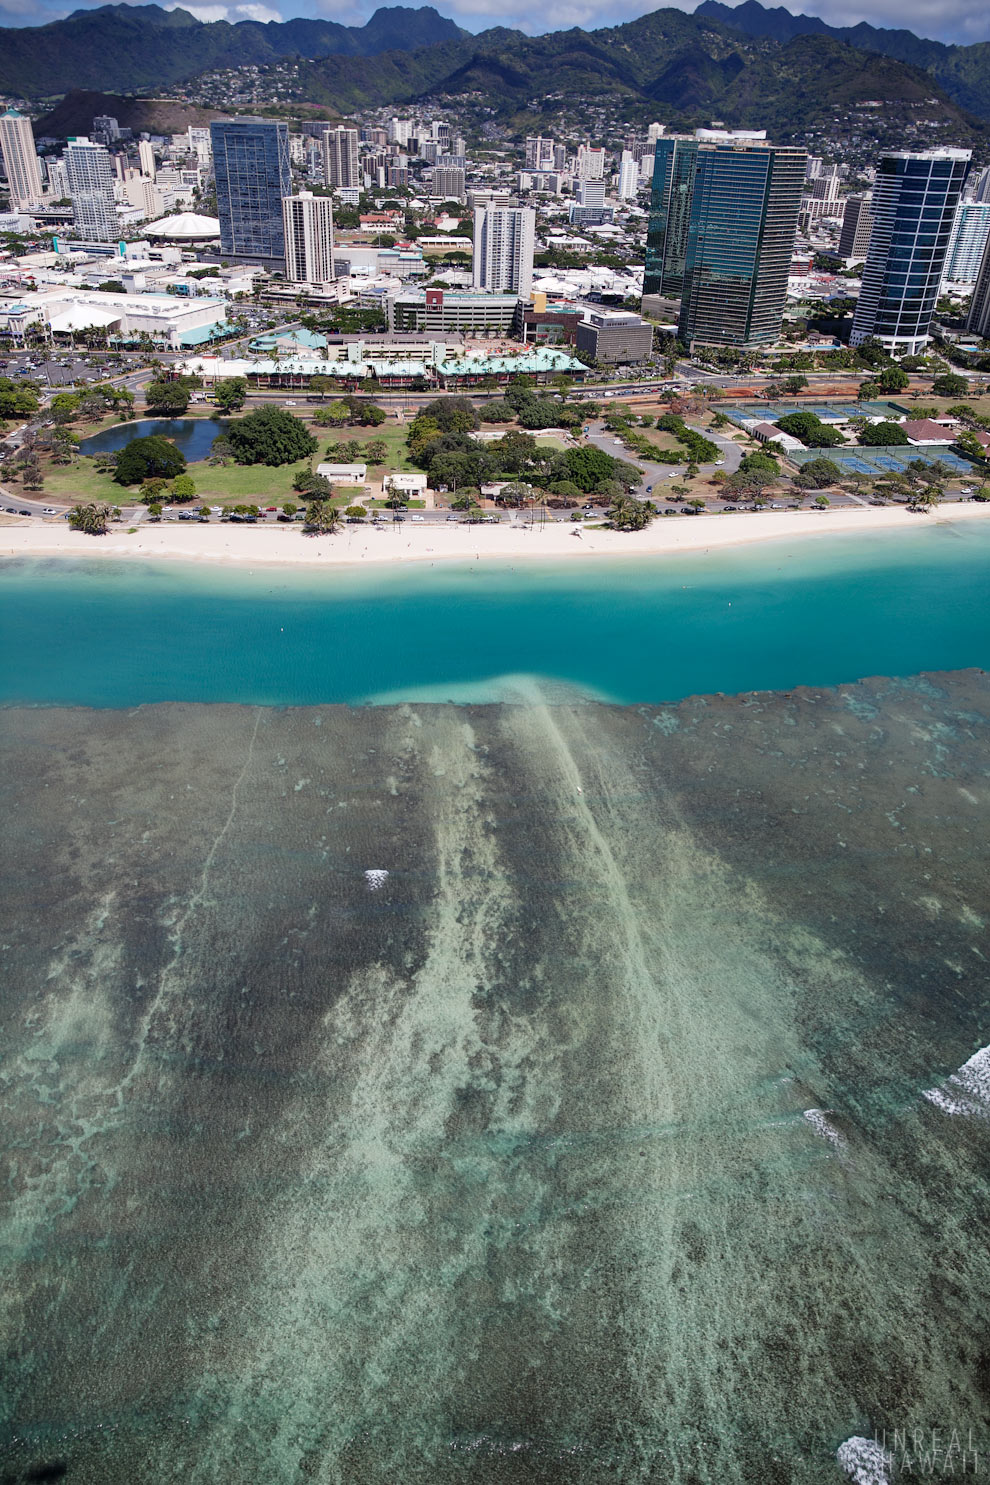
The channel at Ala Moana Beach Park and the reef that shields the beach. The channel is man made and 25 feet deep. I believe it was originally dug out for boats. The beach is man-made as well.
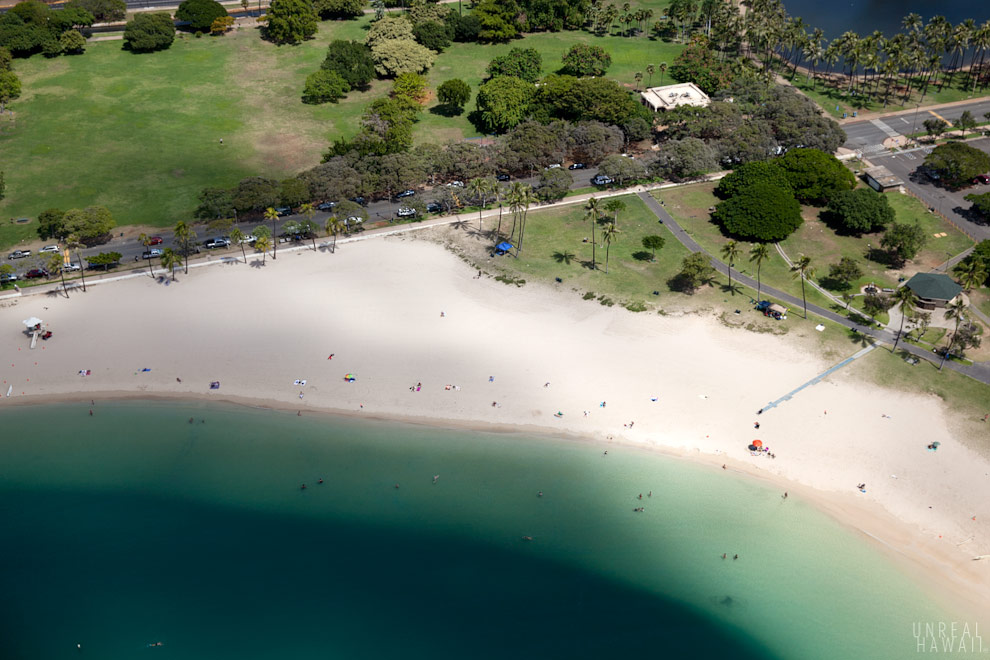
The beach at Magic Island.
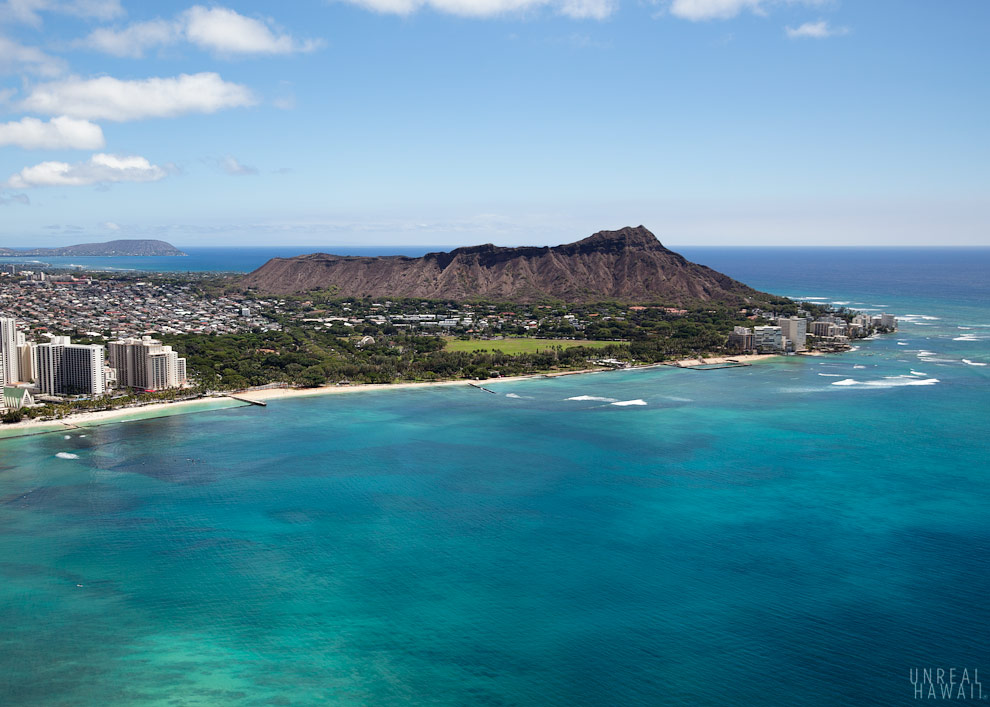
Diamond Head (with Hanauma Bay in the distance).
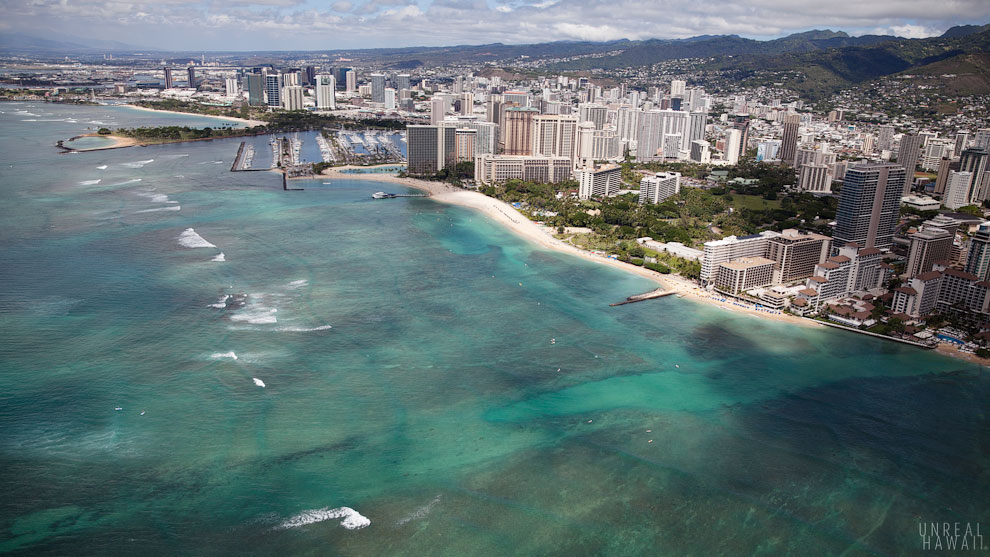
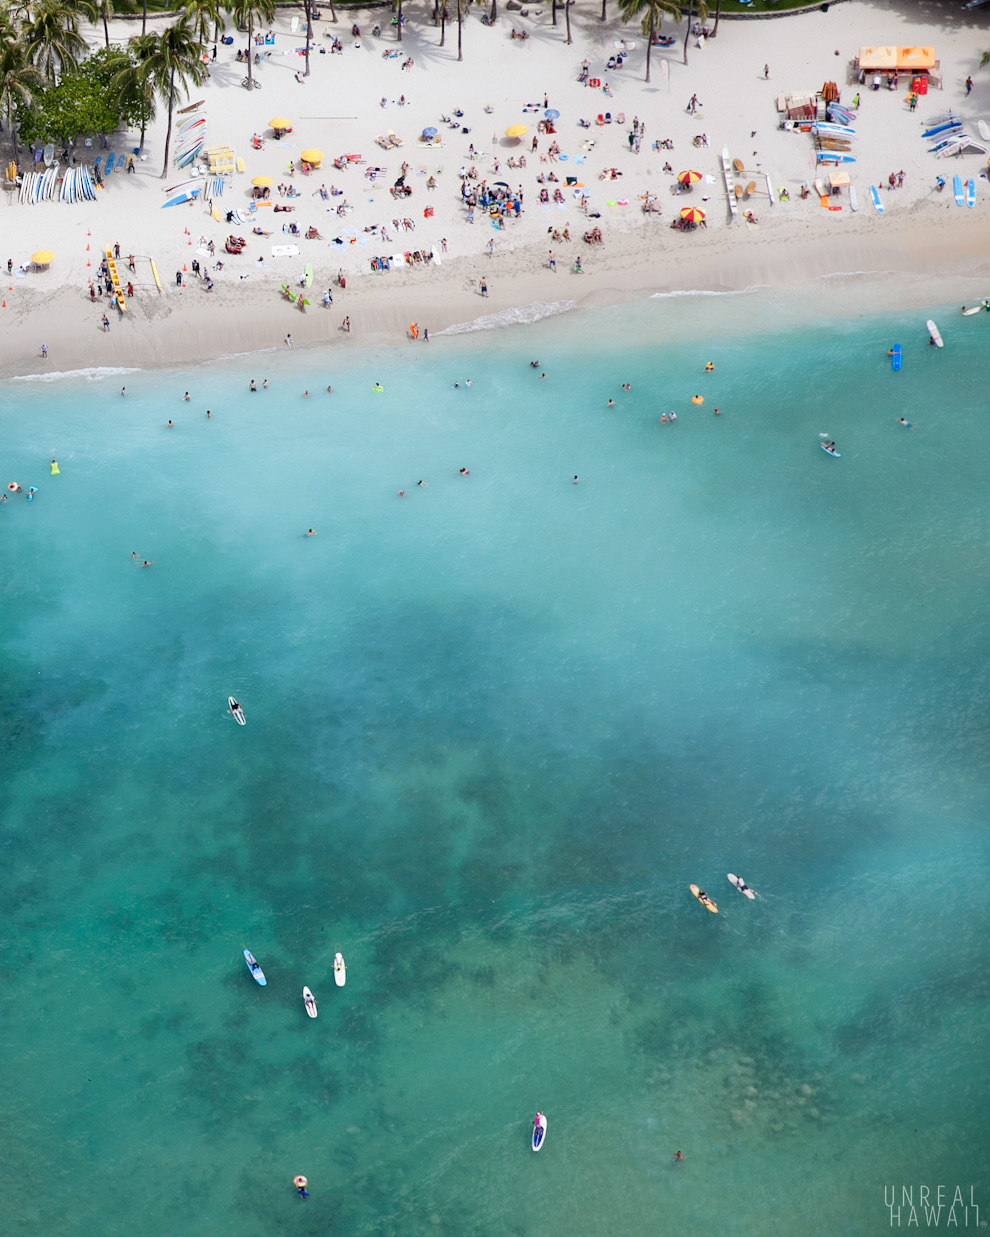
The many surf breaks of Waikiki.
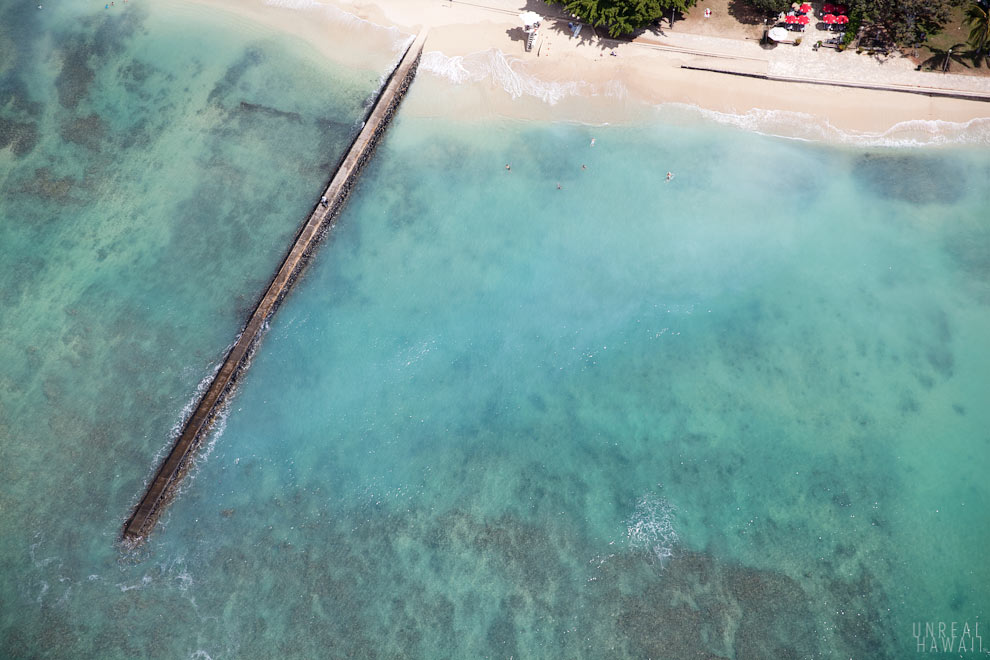
The Queen’s Beach Jetty.
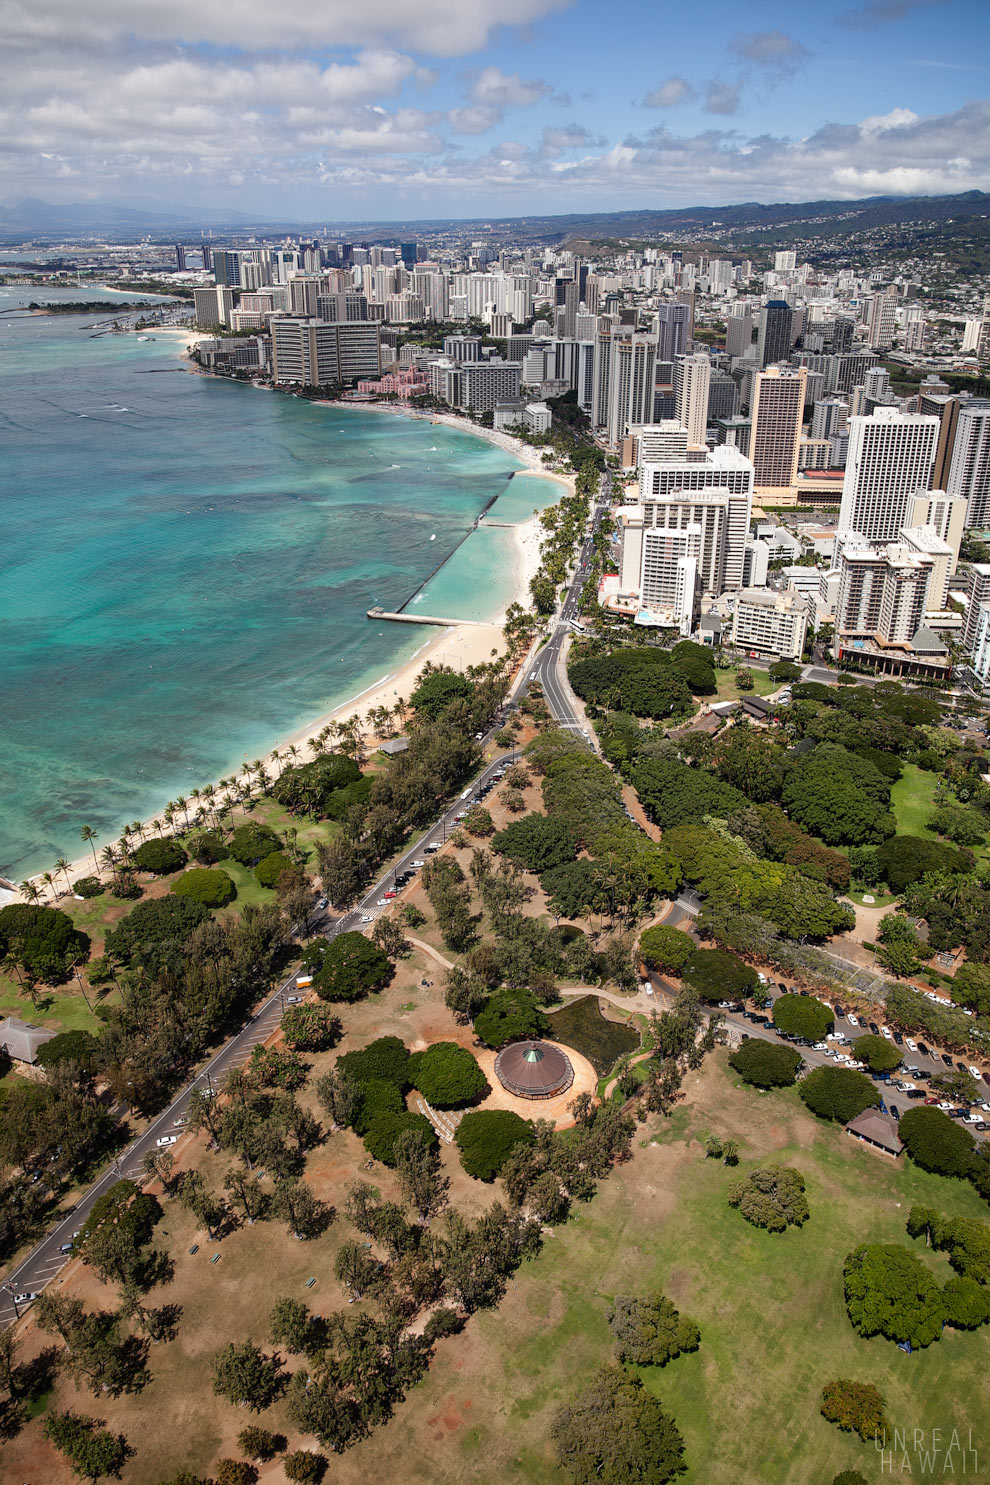
Waikiki to Kapiolani Park.
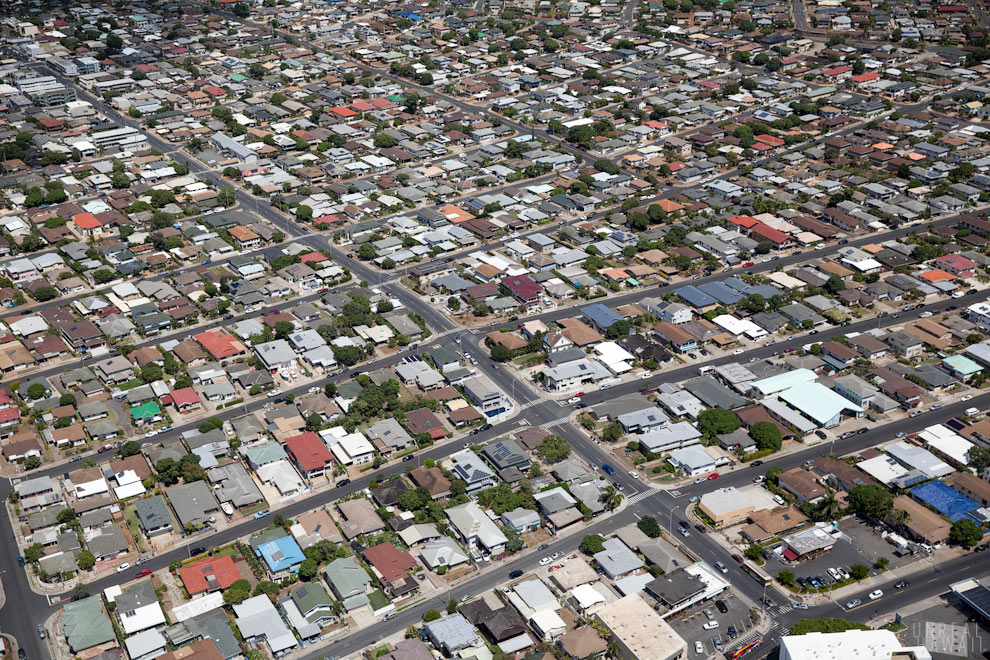
Kaimuki.
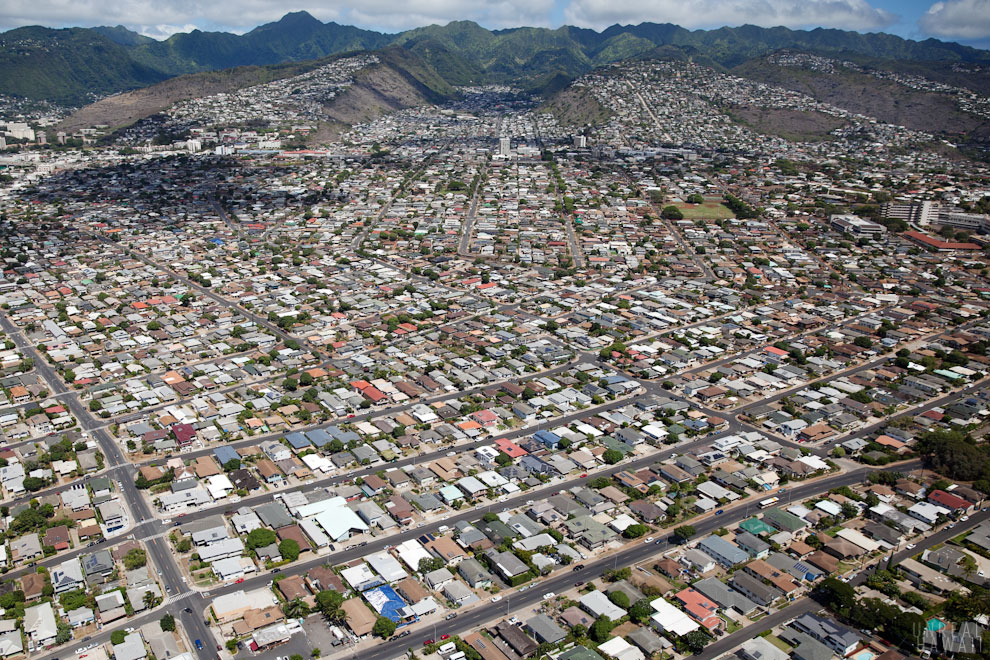
Two ridges, St. Louis Heights and Wilhelmina Rise, off in the distance. At the top of St. Louis Heights you’ll find the start of the hike to Mt. Olympus. At the top of Wilhelmina Rise you’ll find the trailhead for Lanipo.
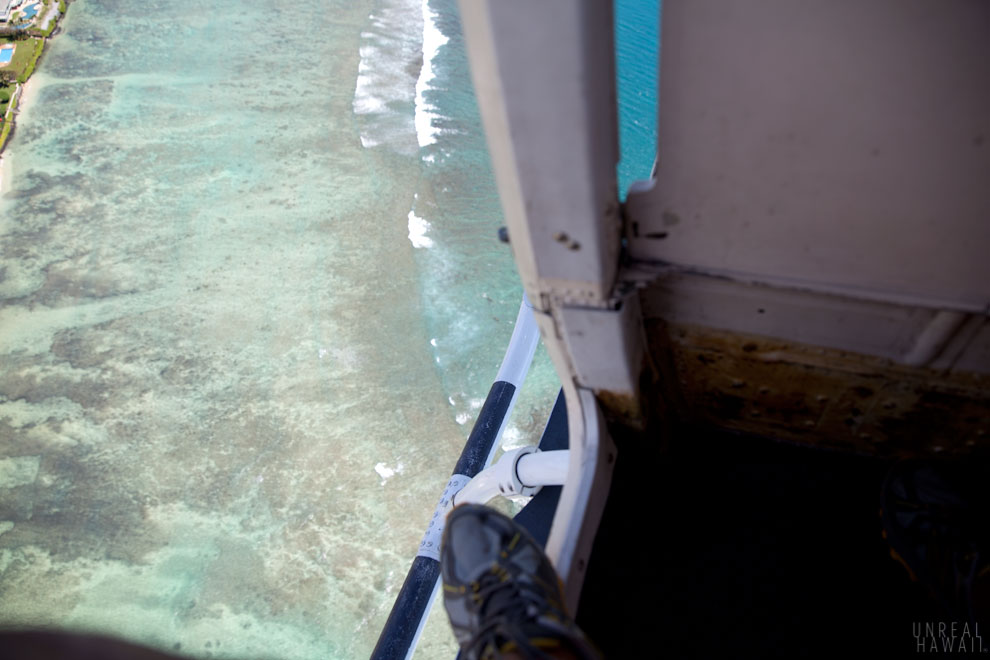
My left shoe.
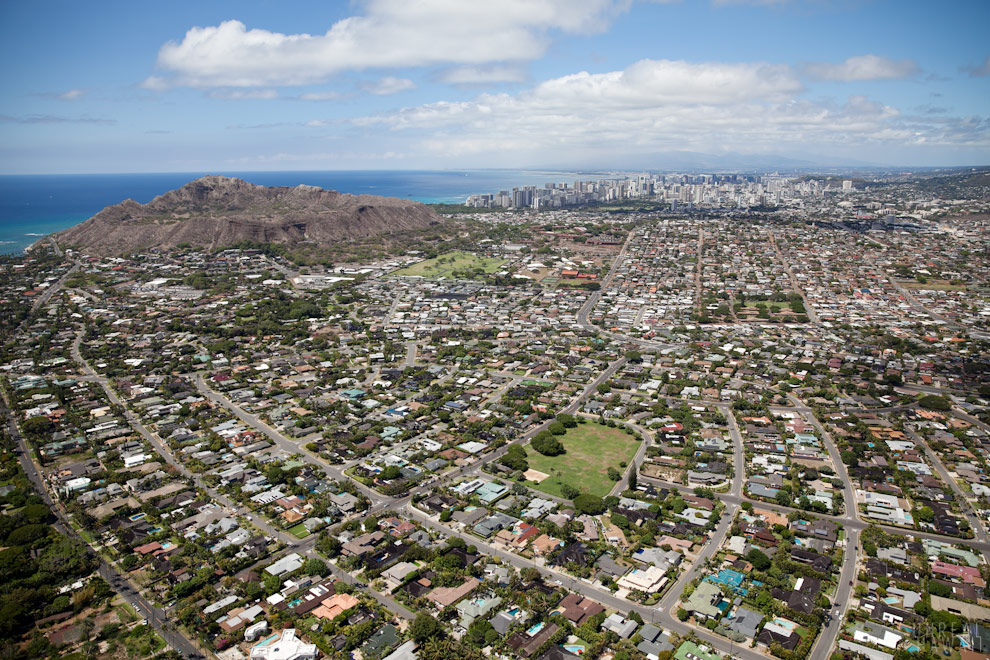
Honolulu is a city. We’re not all living in huts out here (as my parents thought I was doing when I first moved to Hawaii).
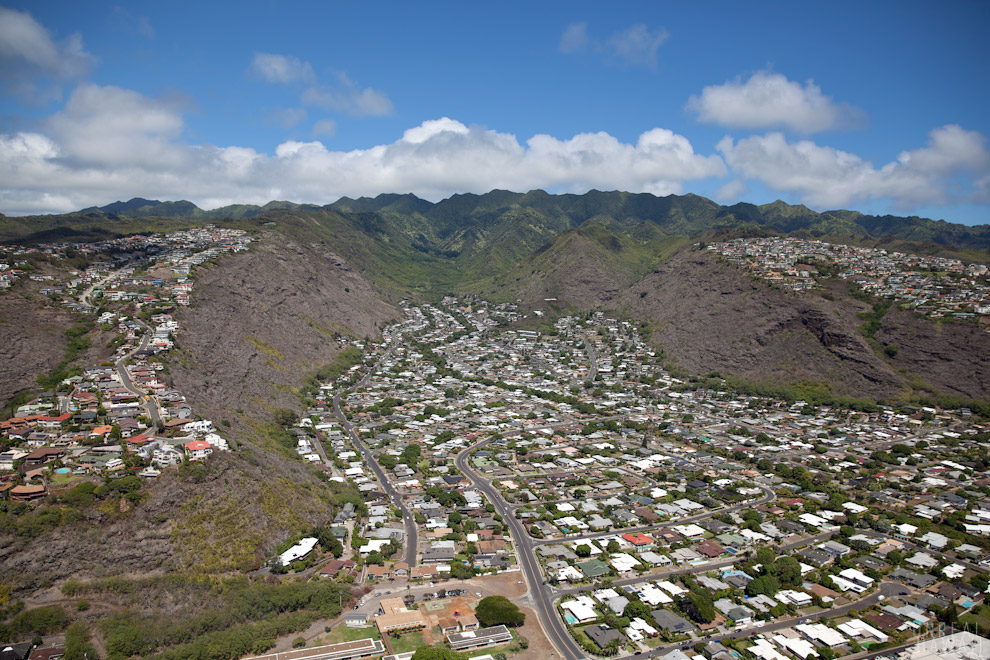
Niu Valley (with Hawaii Loa Ridge to the right).
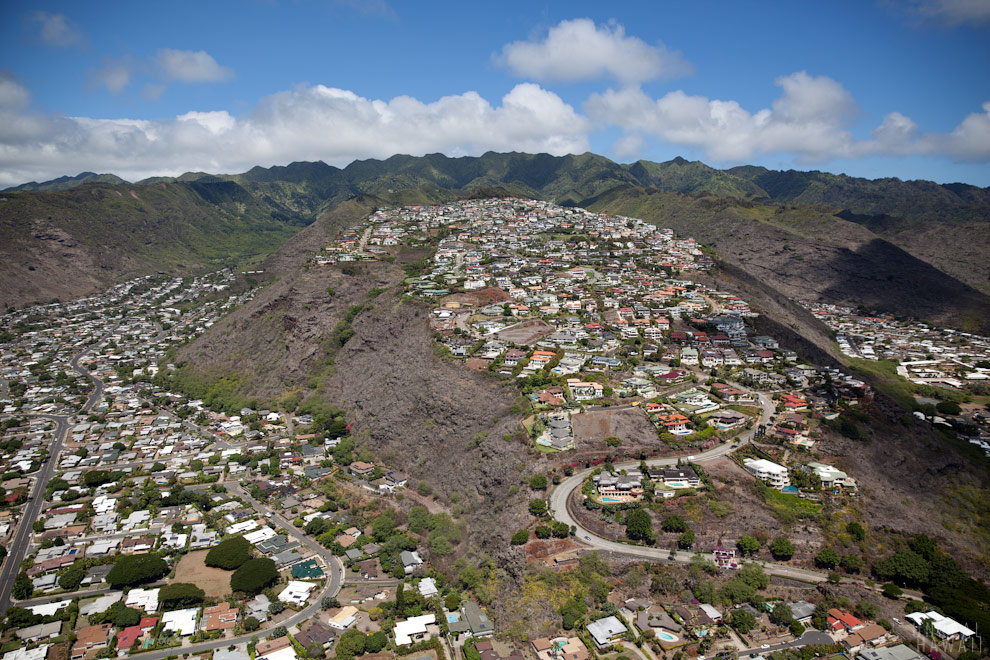
Hawaii Loa Ridge where the rich and famous live.
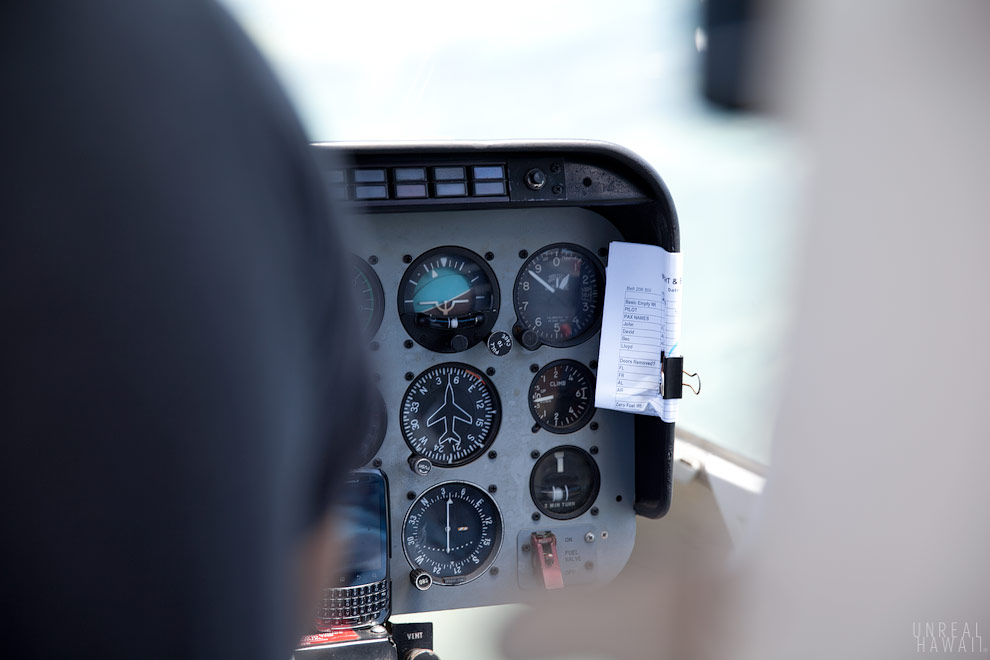
The dashboard.
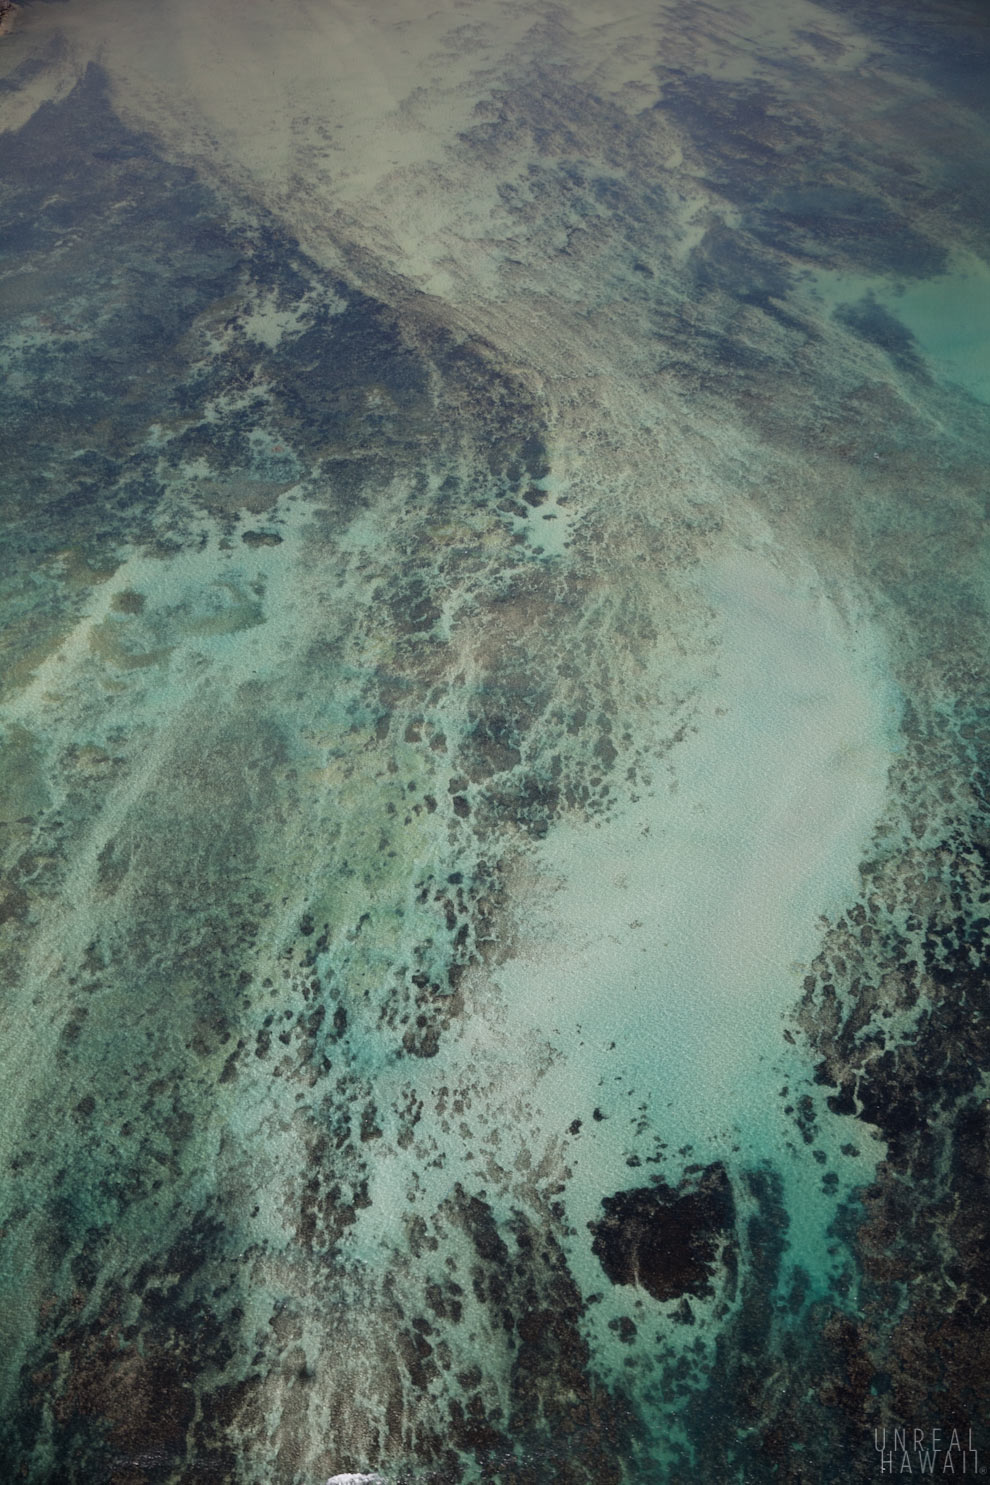
The reef in Maunalua Bay (Hawaii Kai).
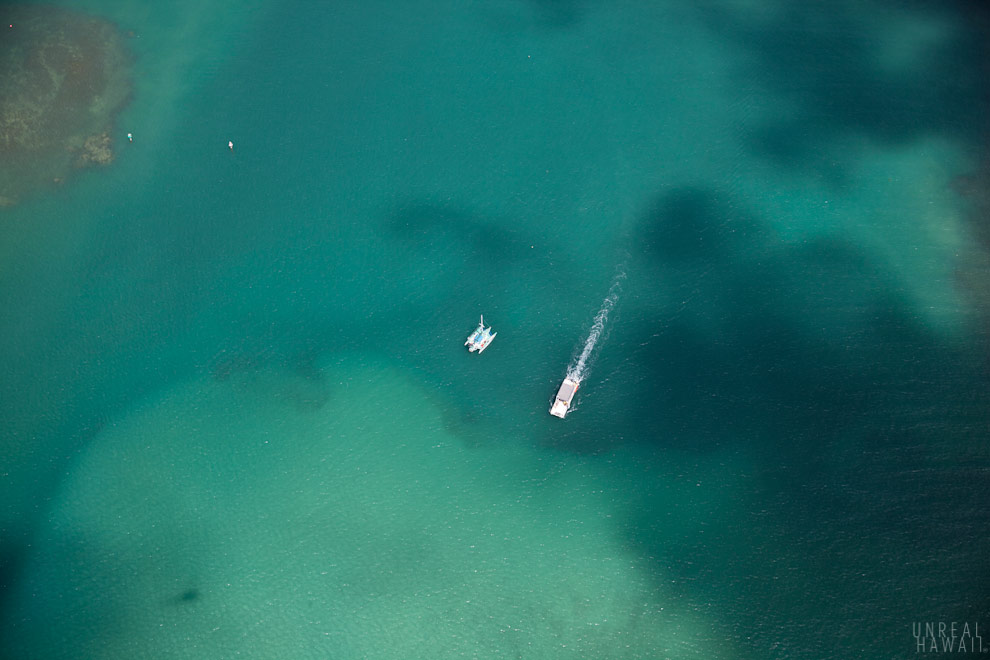
Two boats in Maunalua Bay.
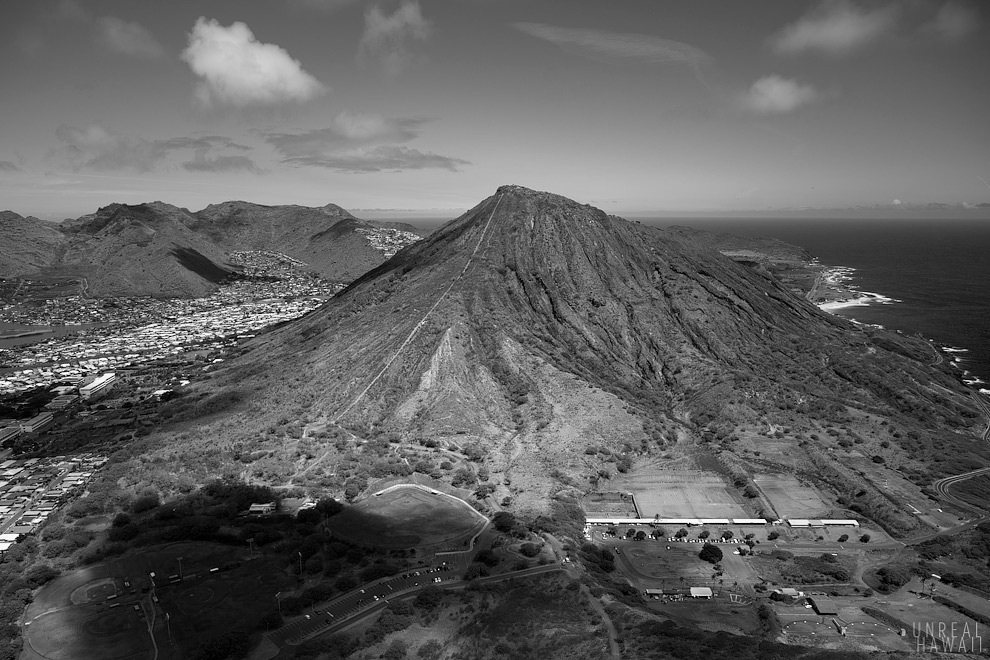
One of my favorite spots on Oahu, Koko Head Crater.
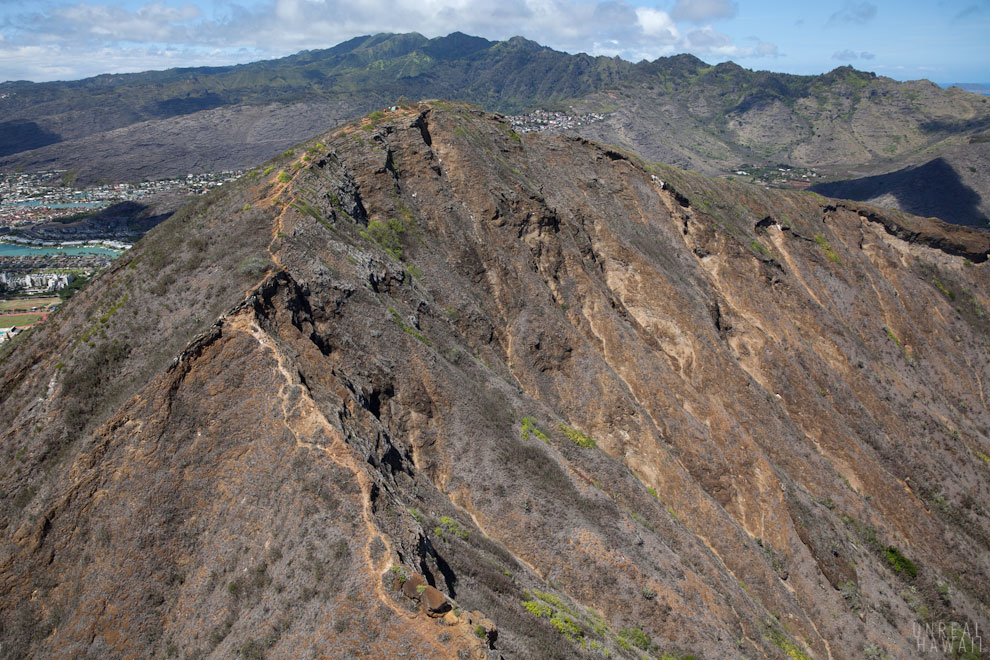
A view from inside Koko Head Crater. You can see the trail that takes you down along the crater rim.
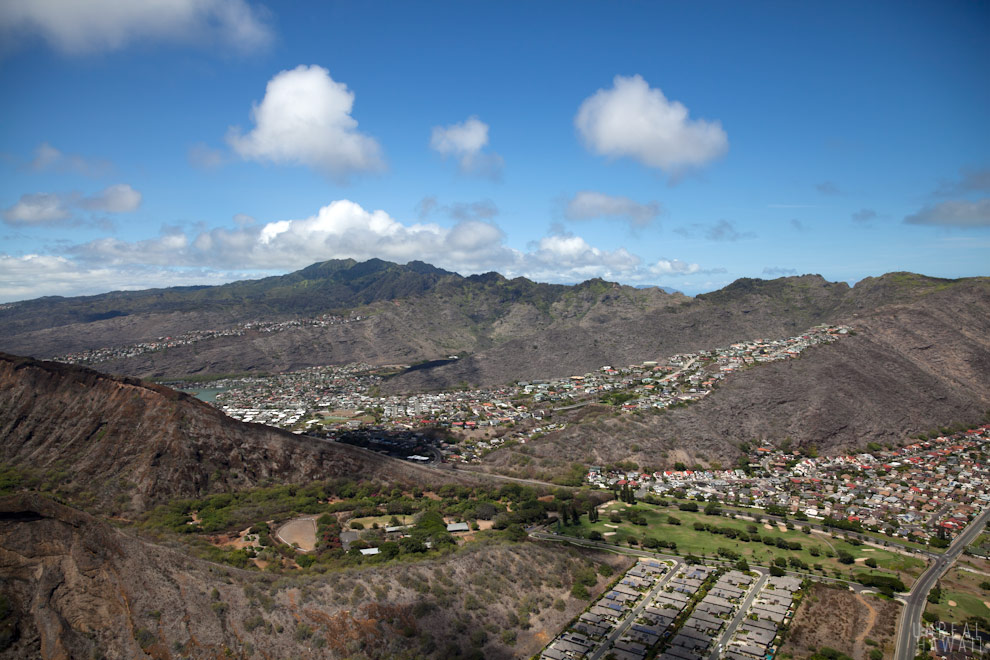
Looking towards the northwest you can see all the Hawaii Kai and Aina Hina ridges that stem off the Koolau Summit. Each one of these ridges has a nice hiking trail on it. Mariner’s Ridge and Kuliouou Ridge would be my favorite.
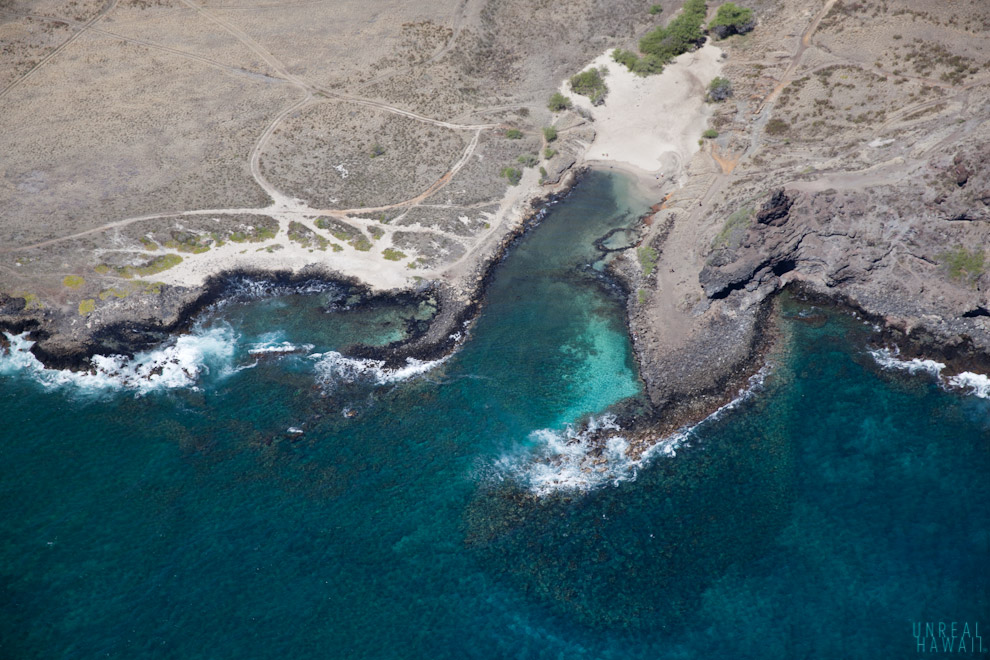
A view from above of Alan Davis Beach and Pele’s Chair.
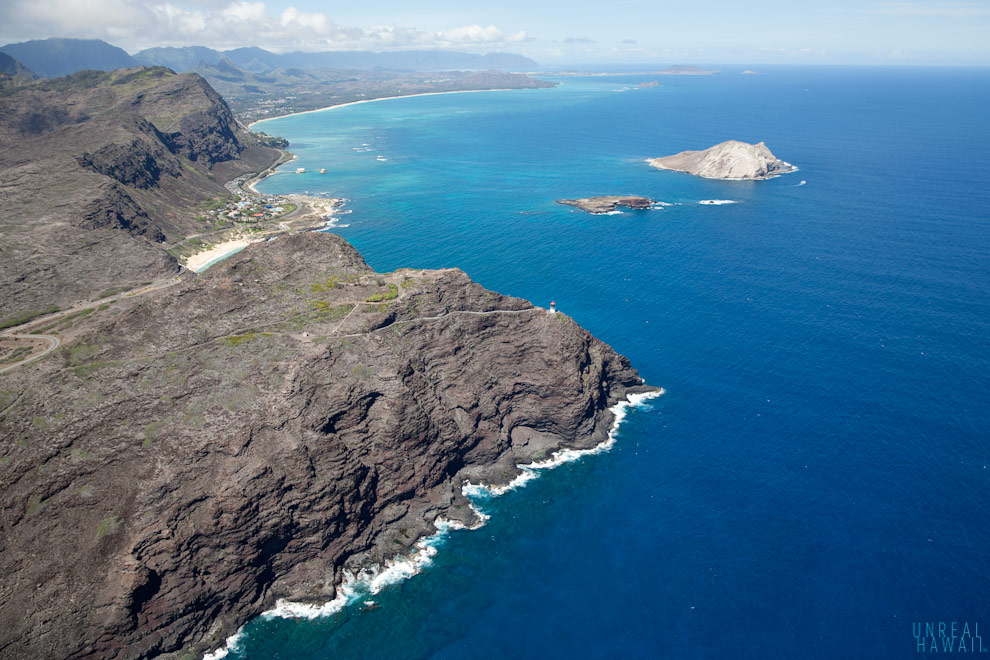
The iconic Makapu’u Lighthouse and Rabbit Island.
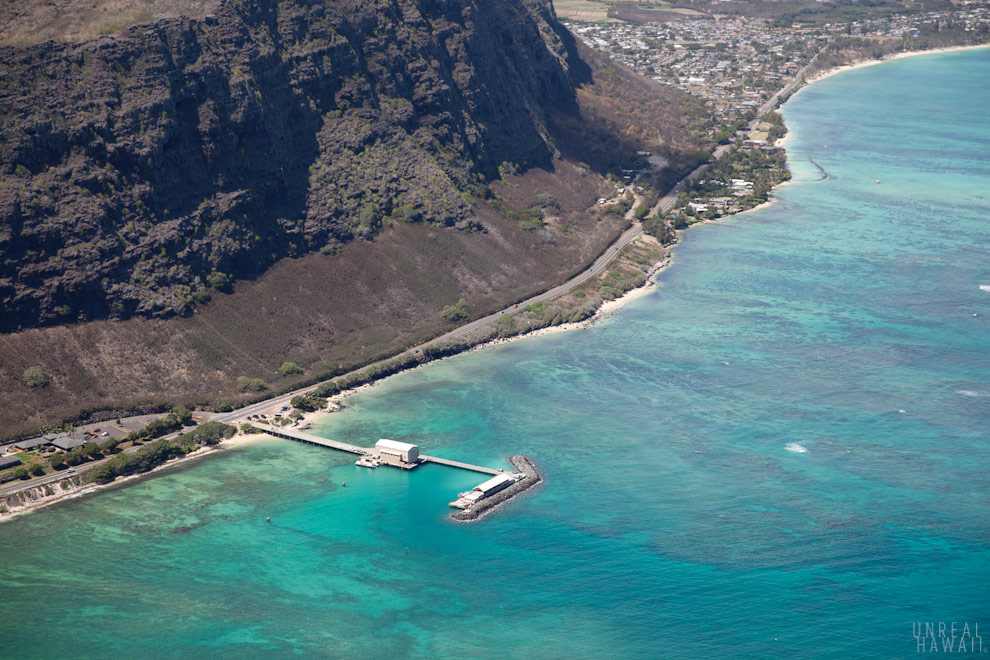
That thing sticking out there is the Makai Research Pier.
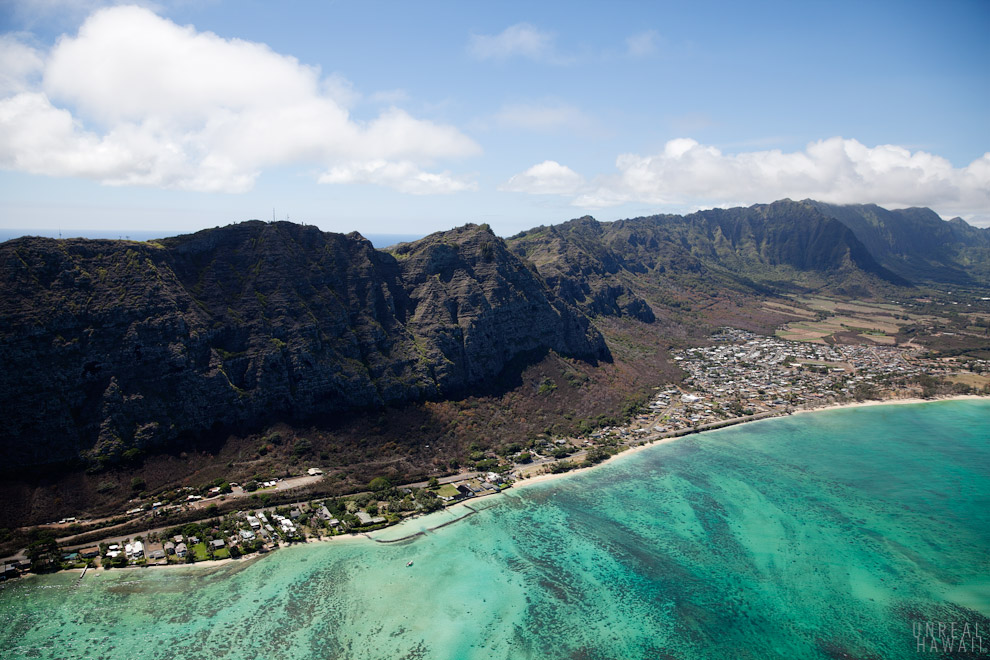
A view of the Makapu’u ridgeline. This is the beginning of the Koolau Summit. A popular hike is to start on this trail and take it to the TomTom trail which will bring you down to Waimanalo. It’s called the Makapu’u-TomTom hike.
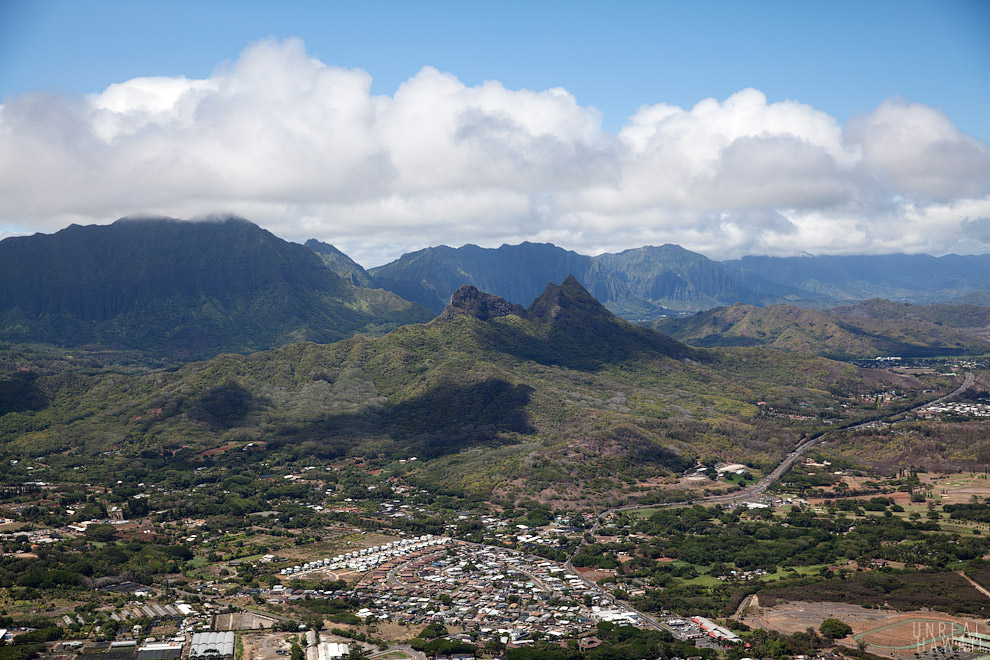
The three peaks of Mt. Olomana, a super popular yet dangerous hike in Hawaii.
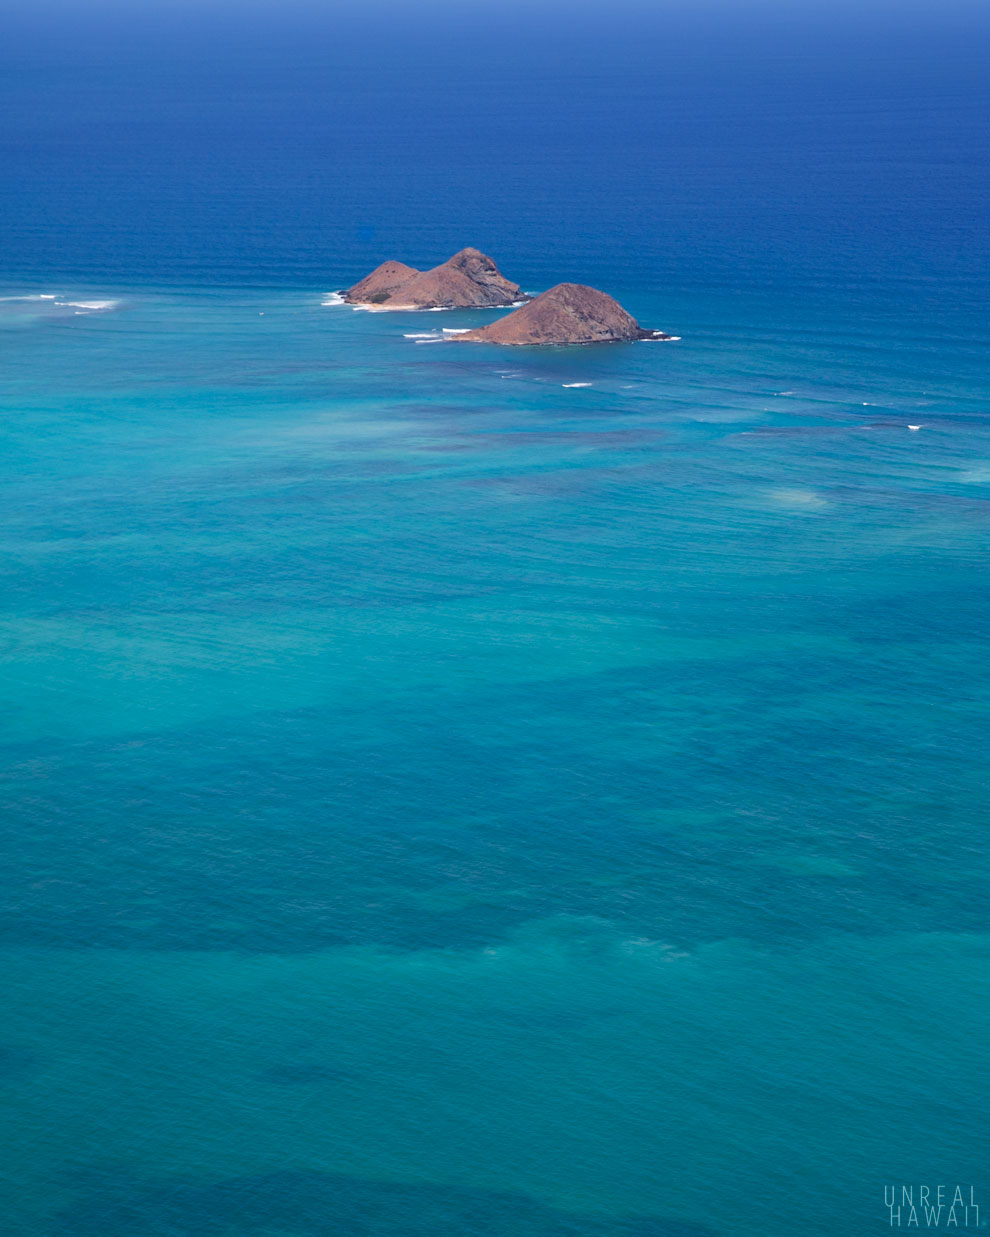
The Mokulua Islets. Moku Nui and Moku Iki. You can kayak out to Moku Nui (left). The other one is a protected sanctuary for birds.
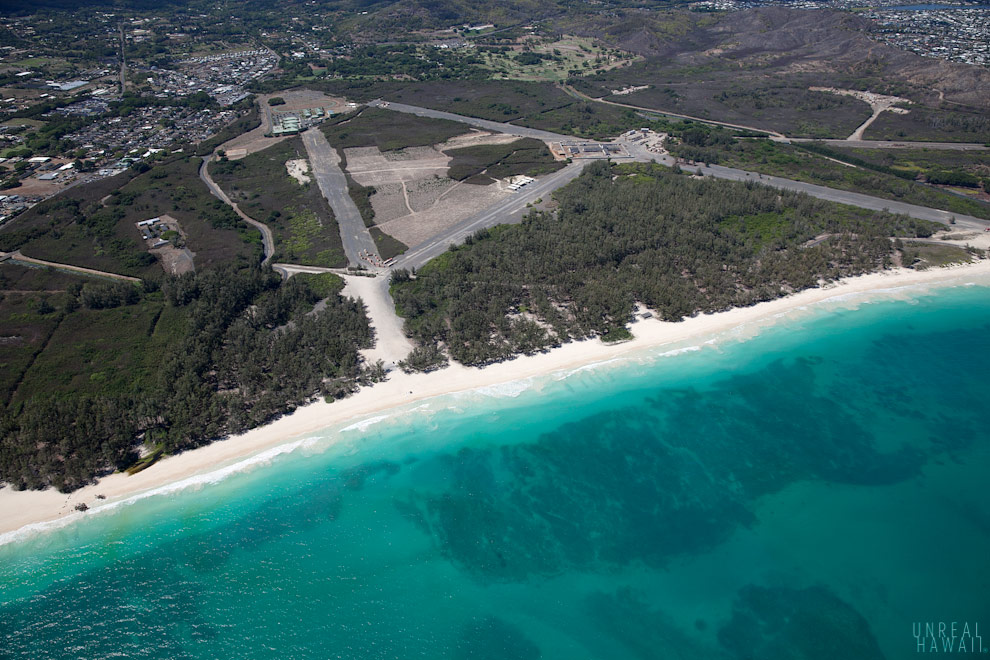
The white sand of Bellows Beach in Waimanalo.
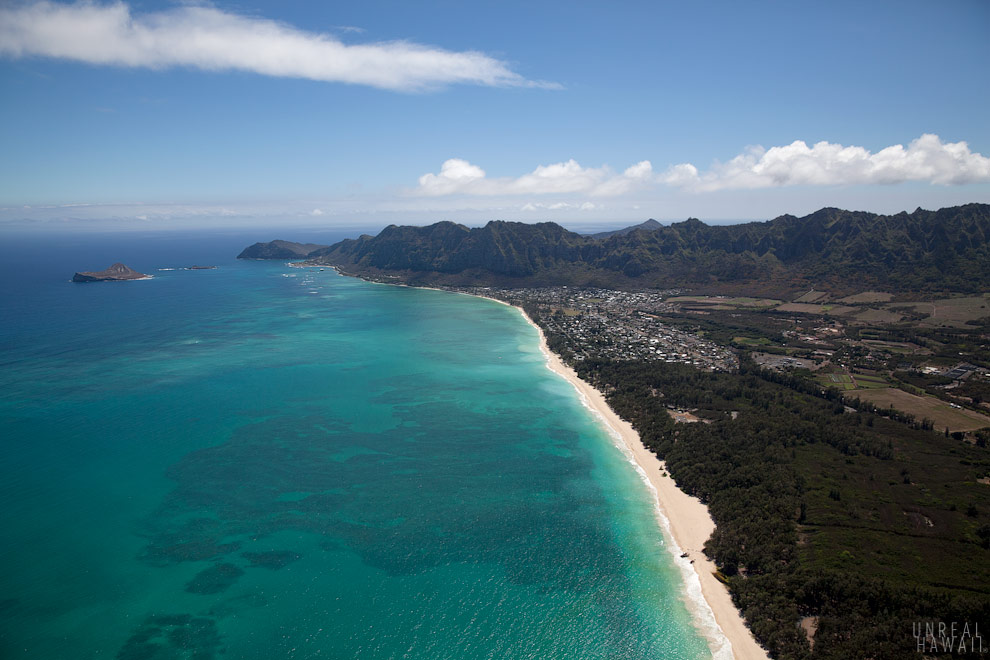
Waimanalo Beach has fine white sand and blue waters. A popular beach for locals. You have to watch out for Portuguese man-o-war jellyfish. They are everywhere.
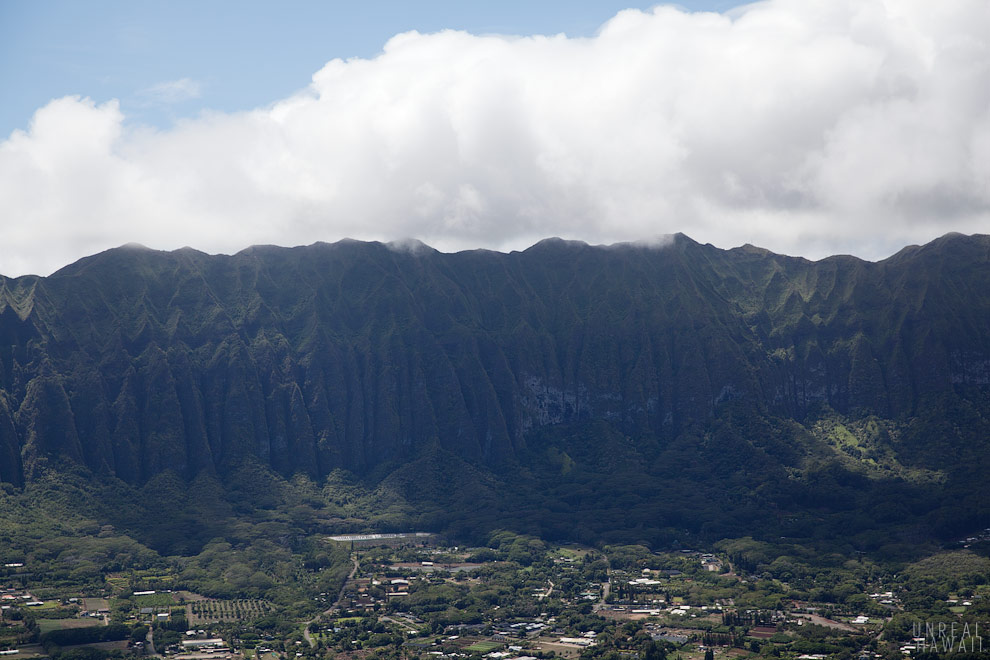
The creases in the windward ridges of the Koolaus are deep. When the rain comes, each crease turns into a waterfall.
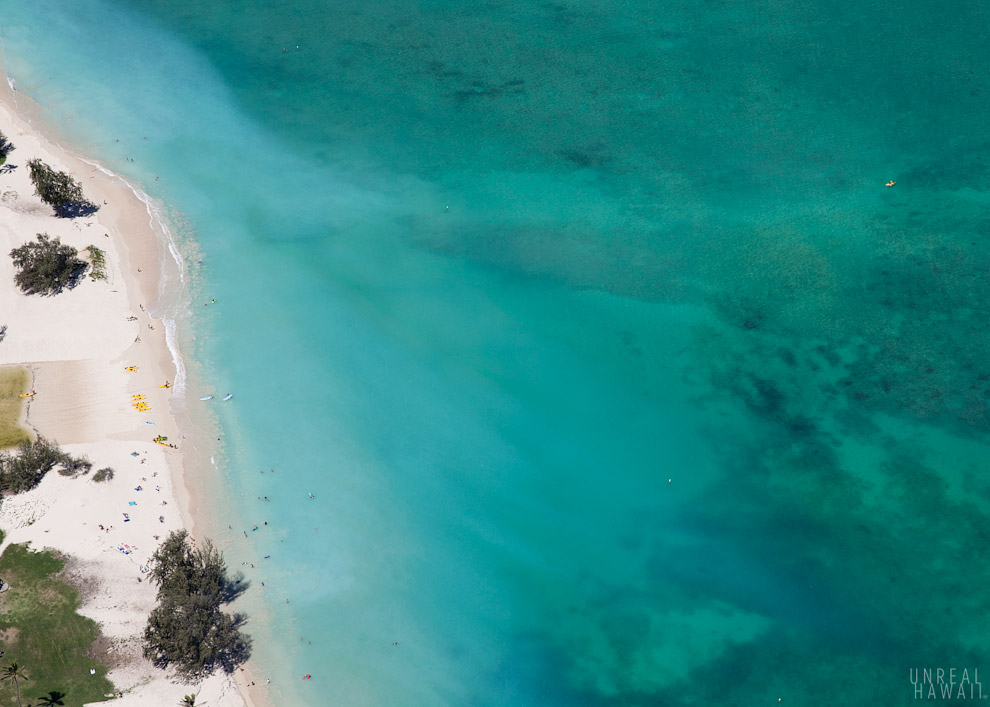
Kailua.
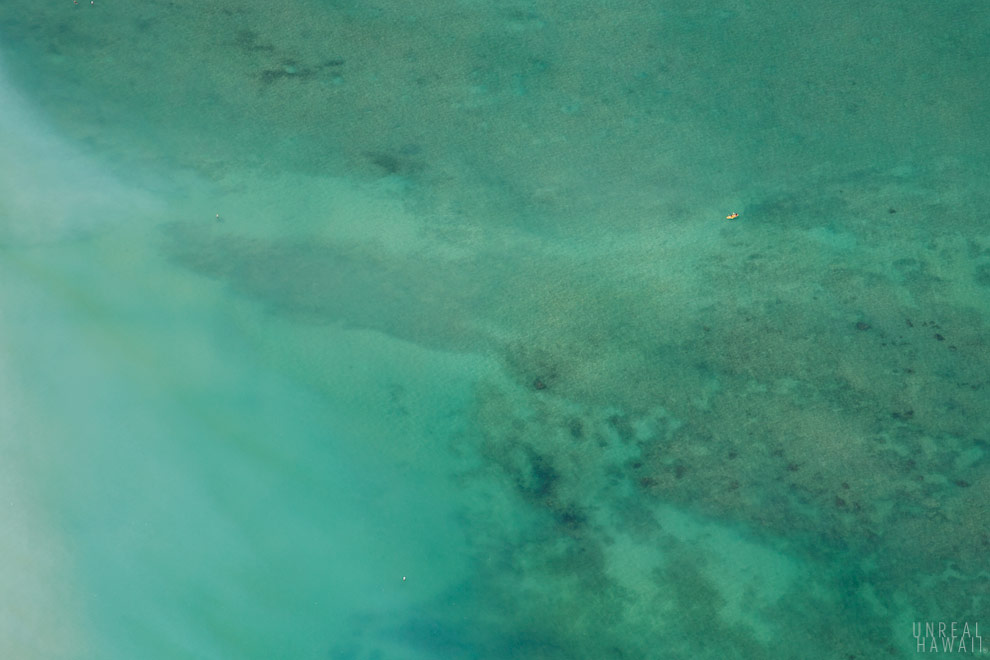
A lone kayaker. (I cropped out the fifty other ones sharing the water with him.)
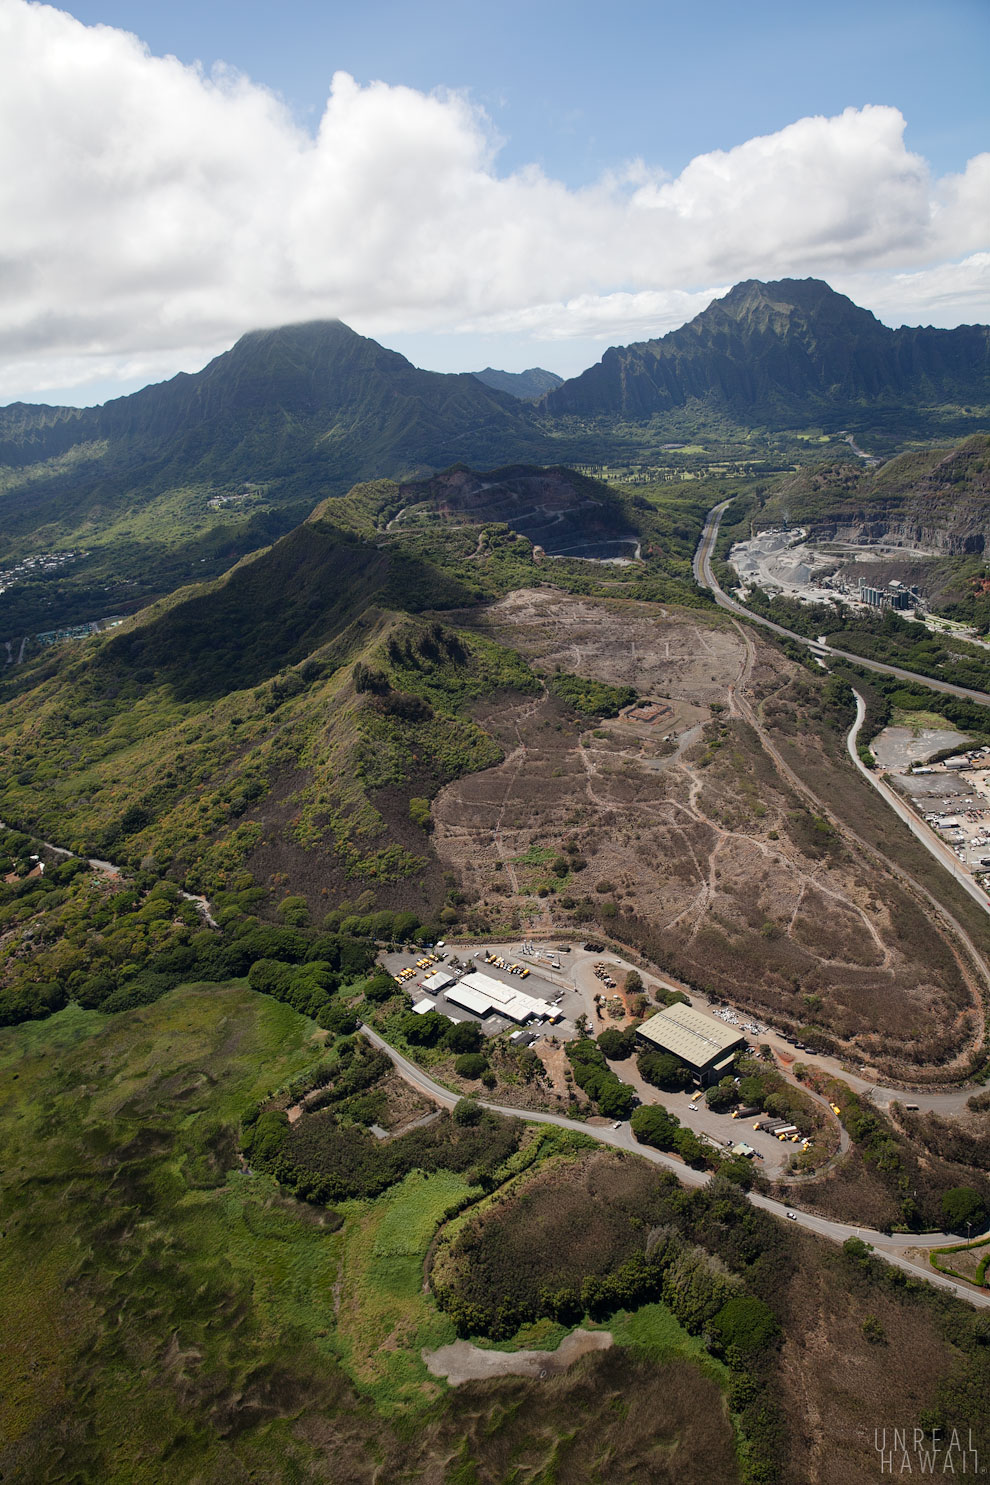
Kapaa Quarry.
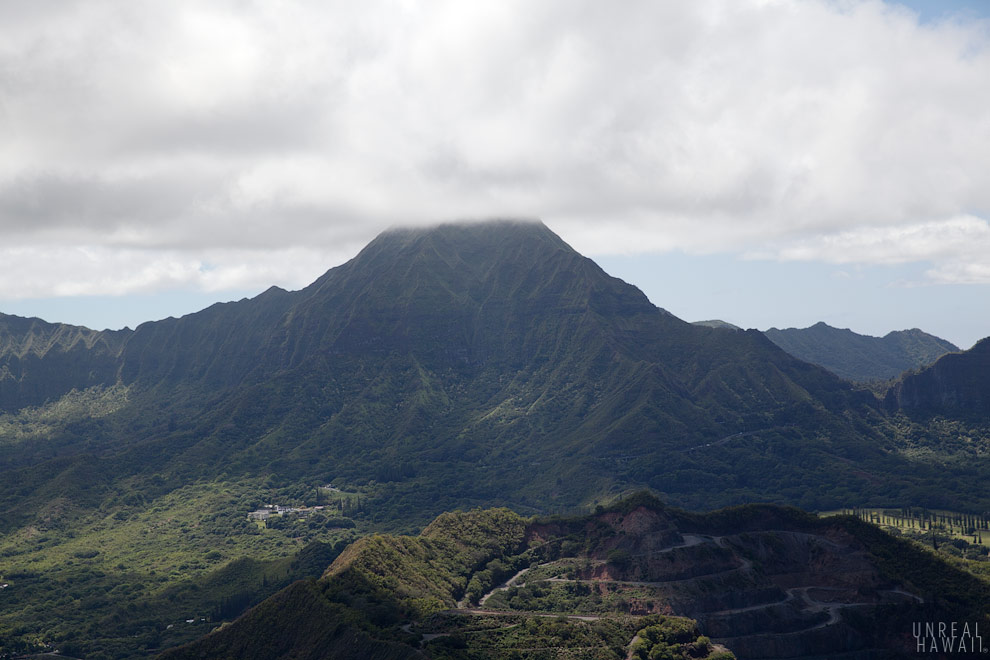
Konahuanui, the tallest peak on the Koolau Range. Almost always with it’s head in the clouds.
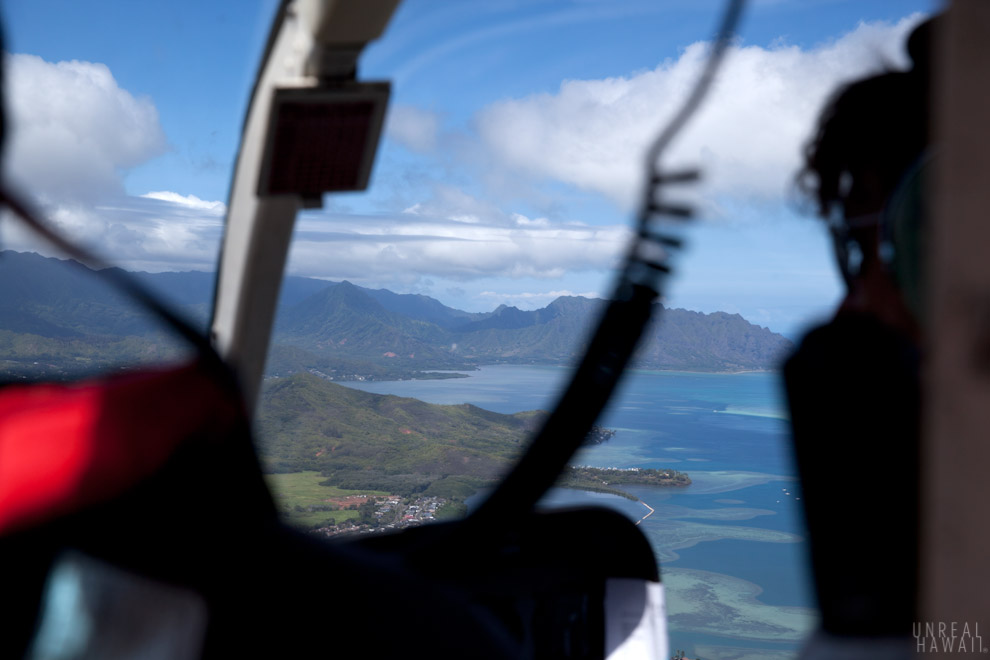
This concludes Part 1 of this photos series. In Part 2, I’ll share photos from the more remote parts of the Koolaus, a bit of the North Shore and central Oahu.
Tips for shooting photos with a DSLR from a helicopter
If you are a photography hobbyist like myself or if you just got a new DSLR, the helicopter tour will be an incredible experience. There are so many photo ops it’ll be easy to come back with close to a thousand pics. But helicopters are shaky and with the doors off, your camera will not be still when you press the shutter. If your settings aren’t right, your photos could get blurry.
Here are some tips:
- Use a wide angle zoom lens.
- Shoot in Aperture priority.
- Use auto focus.
- Start with your ISO at 100.
- The most important thing to monitor is shutter speed. Keep it faster than 1/1000 at all times. Try to keep it slower than 1/2000.
- As you’re shooting, always check the shutter speed for each shot. If it’s slower than 1/1000 use a higher ISO. If it’s faster than 1/2000 raise your f-stop (meaning a smaller aperture).
- Set you exposure down -1/3 stop (and then fix in post if necessary). Check your photos on your LCD frequently. Adjust exposure as needed as you move from cloudy to sunny parts of the island.
I learned how to set up my camera settings for the tour from this article on the Paul Timpa Photography Blog.
